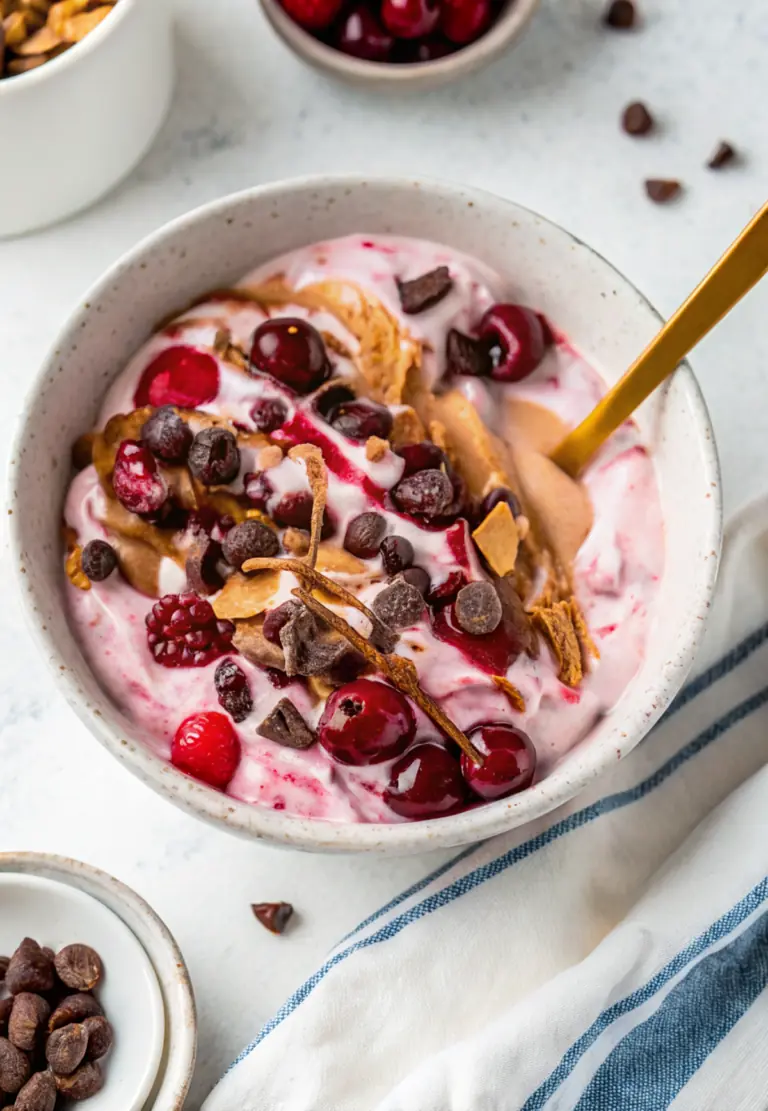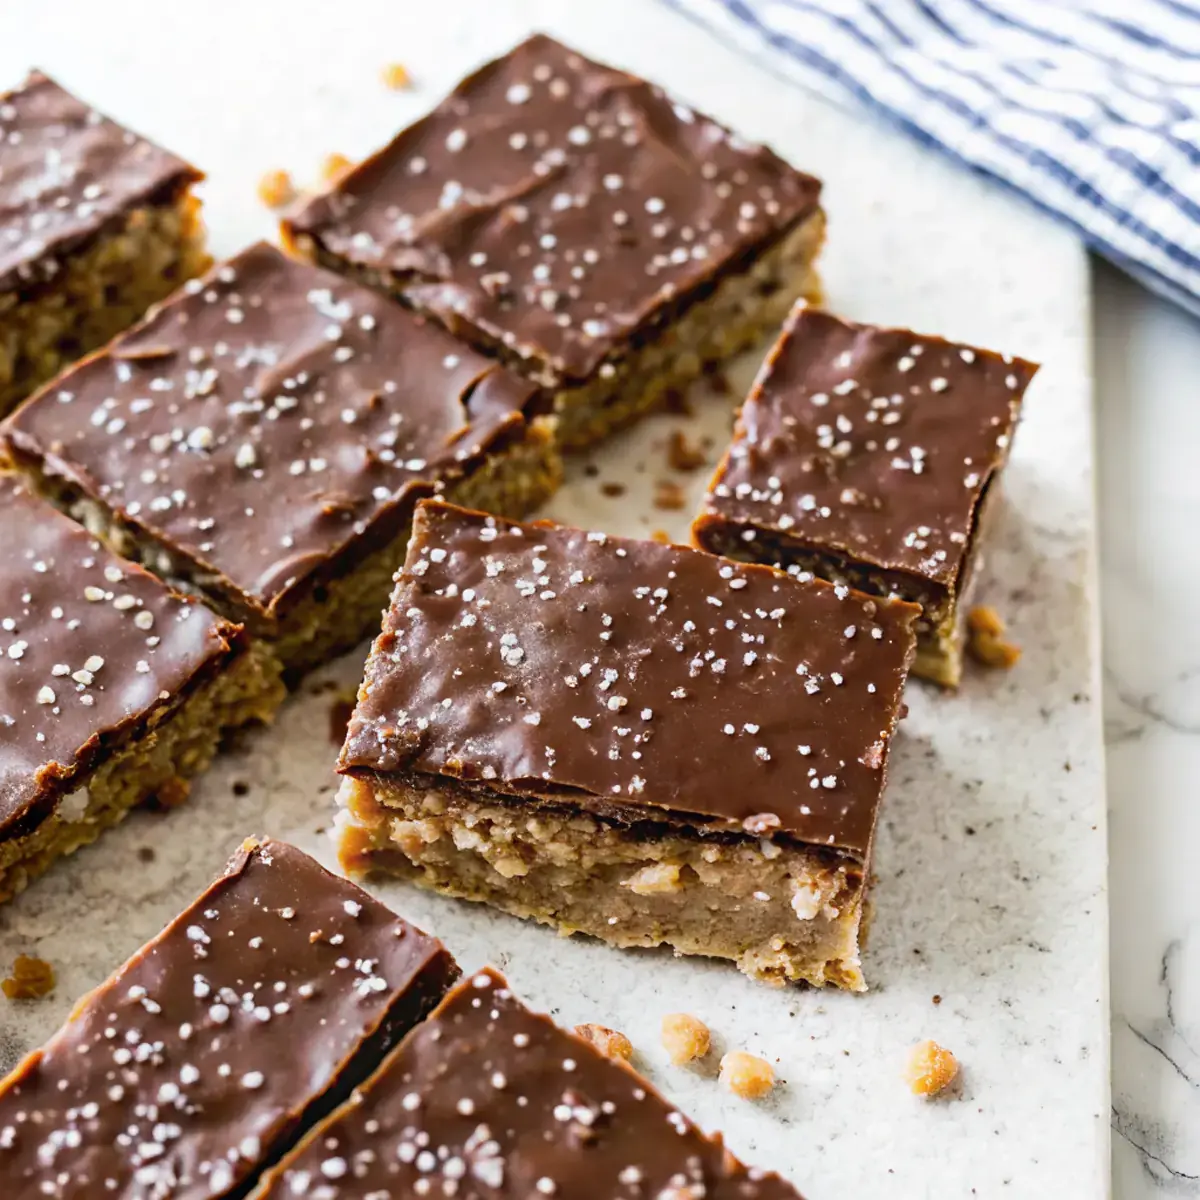
On Sundays, I clear the counter and set out the parchment while Noah naps and Lily “helps” by counting scoops of cereal. It’s our low-stress batch-cooking window, and these bars always make the cut. They set quickly, taste like a treat, and still give a little protein nudge that keeps everyone happy. I wrap a few and stash them for the week before they mysteriously vanish.
Why You’ll Love This Easy Protein Scotcheroos Recipe
I grew up on cereal bars at school events, so I wanted a version that still tasted like the classic but fit the way my family eats now. The peanut-butter base and glossy chocolate-butterscotch top keep that familiar flavor.
When I started adding whey to the warm mixture, I realized I could boost the macros without changing the texture we love. Now I usually make a pan on the weekend and slice what we need as we go.
What Makes this Recipe Unique
– Whey protein powder: Whisked right into the warm peanut-butter mixture for an easy protein lift.
– No-bake method: A quick stovetop stir, a brief chill, and you’re ready to glaze.
– Peanut butter backbone: Adds structure and a creamy chew that holds the cereal together.
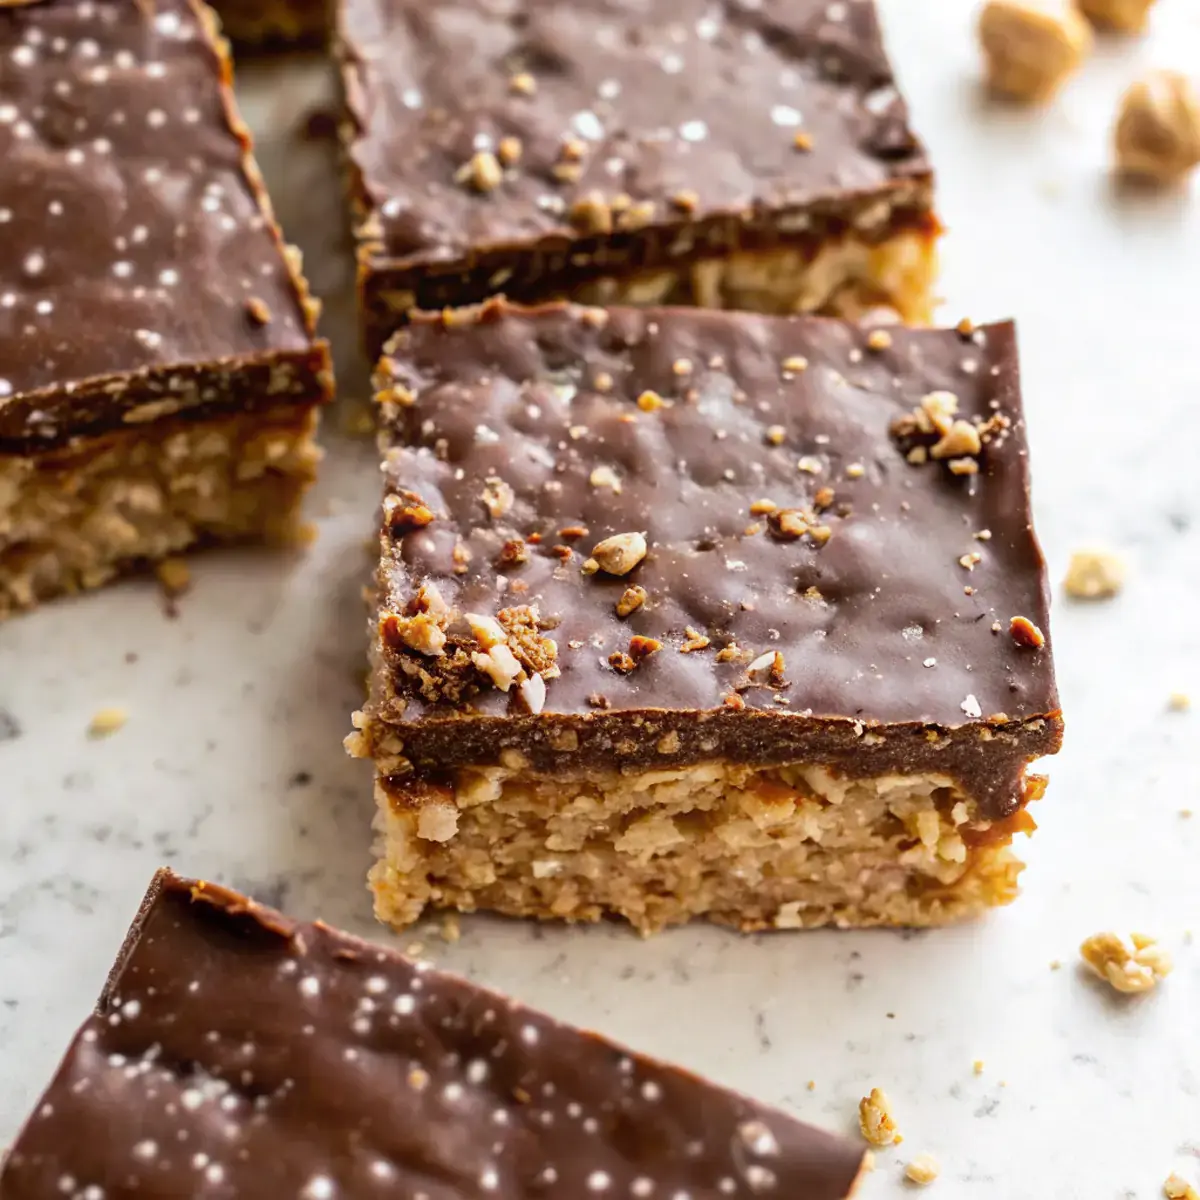
– Chocolate-butterscotch glaze: Melted with a touch of butter for a smooth, shiny finish and balanced sweetness.
– Vanilla double-layer: Stirred into both the base and the glaze for a warm, rounded flavor.
– Optional flaky sea salt: A tiny sprinkle on top sharpens the chocolate notes.
Estimated Macros & Calories
Here’s a simple estimate based on the ingredients used. (estimated per serving, without optional ingredients)
- Calories: 520
- Protein: 8 g
- Carbohydrates: 75 g
- Fat: 22 g
- Fiber: 1 g
The Most Authentic Easy Protein Scotcheroos Recipe Recipe
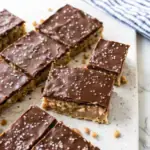
I keep this one straightforward: classic cereal bars with a smart whey boost and that nostalgic chocolate-butterscotch cap. It’s the kind of sweet snack my kids cheer for and I feel good about serving after soccer or a long errand run.
Ingredient Notes
– Light corn syrup: This is the glue that keeps the base chewy and prevents the sugar from turning grainy.
– Light brown sugar: Brings caramel warmth and helps the mixture set; make sure it’s fully dissolved before moving on.
– Unsalted butter: Melts into the base for richness and goes into the glaze for shine; unsalted keeps the sweetness in balance.
– Creamy peanut butter: Adds protein and structure while staying smooth; it’s the reason the bars slice cleanly.
– Vanilla or unflavored whey protein powder: Whisk it in thoroughly so it blends without clumping and keeps the texture silky.
– Crispy rice cereal: The crunch factor; fold gently so the pieces stay airy instead of crushed.
– Semisweet chocolate chips + butterscotch chips: Melt slowly with a little butter for a satiny top that spreads easily.
– Vanilla extract: Stirred into the warm mixtures to round out sweetness in both layers.
– Flaky sea salt (optional): A light sprinkle on top sharpens the chocolate flavors without making the bars salty.
Instructions
Step 1: Prepare the pan
Line a square pan with parchment, leaving enough overhang to lift the bars out later. Lightly grease the parchment so nothing sticks after chilling.
Step 2: Warm the sweet base
Set a saucepan over medium heat and add the corn syrup and brown sugar. Stir steadily until the sugar dissolves and the mixture looks glossy with gentle bubbling.
Step 3: Enrich and add protein
Take the pan off the heat and whisk in the butter until fully melted. Stir in the peanut butter until smooth, then whisk in the protein powder and vanilla extract until thick and shiny.
Step 4: Coat the cereal
Pour the warm peanut-butter mixture over the crispy rice cereal in a large bowl. Fold gently from the bottom up so every flake is coated without crushing the cereal.
Step 5: Press and chill briefly
Scrape the coated cereal into the prepared pan and press it into an even layer. For a compact surface, place a piece of parchment on top and use a flat measuring cup to press, then chill just until it starts to set.
Step 6: Melt the topping
In a microwave-safe bowl, melt the chocolate and butterscotch chips with the remaining butter, heating in short bursts and stirring between each until smooth; a double boiler also works. Stir in vanilla extract at the end.
Step 7: Glaze the bars
When the base feels slightly firm but still tacky, pour on the warm glaze. Spread it quickly into an even layer and sprinkle a light pinch of flaky sea salt if you’re using it.
Step 8: Set and slice
Return the pan to the fridge until the topping is fully set. Lift the slab out by the parchment and cut into bars with a sharp knife, wiping the blade between cuts.
Step 9: Store for later
Keep the bars in an airtight container at room temperature, or refrigerate for a firmer bite. For longer storage, wrap pieces individually and freeze.
Tips and Mistakes to Avoid
– Don’t overheat the syrup-sugar mixture; too hot and the base can turn hard instead of chewy.
– Whisk the protein powder thoroughly off heat so it dissolves smoothly without little lumps.
– Fold, don’t stir aggressively; it keeps the cereal from turning into crumbs.
– Melt the chips gently and stop heating while a few pieces remain visible; residual heat finishes the job and prevents scorching.
– Cut only after the glaze is set; a quick chill makes tidy edges much easier.
Storage Tips
– Room temperature works for a few days in a tightly sealed container.
– In the fridge, the bars firm up more; let them sit a few minutes before biting so the glaze softens slightly.
– For the freezer, wrap bars individually and stash in a zip-top bag; they thaw quickly on the counter.
– Meal prep win: pack bars in lunchboxes the night before so they’re ready to grab and go.
Variations and Substitutions
– For a stronger protein note, use vanilla whey; unflavored keeps the sweetness a bit more mellow.
– Prefer a slightly less sweet top? Spread a thinner glaze by using a lighter hand when you pour and save the rest for another batch.
– Keep it kid-friendly: skip the optional flaky sea salt if your crew is sensitive to salty-sweet combos.
– Already vegetarian as written; for a lighter carb hit per bite, simply cut smaller bars while keeping the same recipe and method.
Why This Recipe Is The Real Deal
The whey blends right into the warm base, which means extra protein without gritty texture or chalky flavor. Peanut butter pulls double duty for structure and chew, so the bars slice neatly and still feel soft when you bite.
Personally, I love the contrast: crisp cereal underneath and a smooth, shiny chocolate-butterscotch top. It’s simple, fast, and it tastes like the treat you remember.
The Bottom Line
Make a pan, hide a few for later, and tell me how fast they disappear at your house. Drop a comment with your tweaks and how they turned out.
Daisy Hartmann, RDN
Founder of GoProteinEats.com
Making high-protein eating simple, delicious, and sustainable for real life.
Easy Protein Scotcheroos Recipe
Ingredients
Crispy protein base
- 1 cup light corn syrup
- 1 cup packed light brown sugar
- 6 tbsp unsalted butter
- 3/4 cup creamy peanut butter
- 1/3 cup vanilla or unflavored whey protein powder
- 6 cup crispy rice cereal (Rice Krispies or similar)
Chocolate & butterscotch topping
- 1 cup semisweet chocolate chips
- 1 cup butterscotch chips
- 1 tbsp unsalted butter (for glossy finish)
- 1 tsp vanilla extract
- 1 pinch flaky sea salt, for sprinkling (optional)
Instructions
Preparation Steps
- Line a 9x9-inch baking pan with parchment, leaving an overhang on two sides for easy removal. Lightly grease the parchment so the bars release cleanly.
- In a medium saucepan set over medium heat, combine the corn syrup and brown sugar. Stir constantly until the sugar dissolves and the mixture begins to steam and bubble lightly, about 3–4 minutes.
- Remove the pan from the heat and whisk in the 6 tablespoons of butter until melted. Stir in the peanut butter until smooth, then whisk in the protein powder and vanilla extract to make a thick, glossy mixture.
- Pour the peanut-butter mixture over the crispy rice cereal in a large bowl. Fold gently but thoroughly so every flake is coated—use a spatula and two motions to avoid crushing the cereal.
- Transfer the coated cereal to the prepared pan and press it firmly and evenly into an even layer. For a compact surface, cover with another sheet of parchment and press with a flat-bottomed measuring cup. Chill in the refrigerator 10 minutes to help it set before topping.
- While the base chills, melt the chocolate and butterscotch chips with 1 tablespoon butter. Use a microwave-safe bowl and heat in 20–25 second bursts, stirring between bursts until smooth; alternatively, melt gently over a double boiler. Stir in the teaspoon of vanilla at the end.
- When the base is slightly firm but still tacky, pour the warm chocolate-butterscotch glaze over the bars and spread quickly with an offset spatula to an even layer. If desired, sprinkle a light pinch of flaky sea salt across the top to deepen the flavor.
- Return the pan to the refrigerator and chill for another 15–20 minutes until the topping is fully set. Using the parchment overhang, lift the slab from the pan and place on a cutting board. Cut into 12 bars with a sharp knife (wipe the knife clean between cuts for tidy edges).
- Store bars in an airtight container at room temperature for up to 3 days, or refrigerate up to 1 week. For longer storage, wrap individually and freeze up to 2 months.