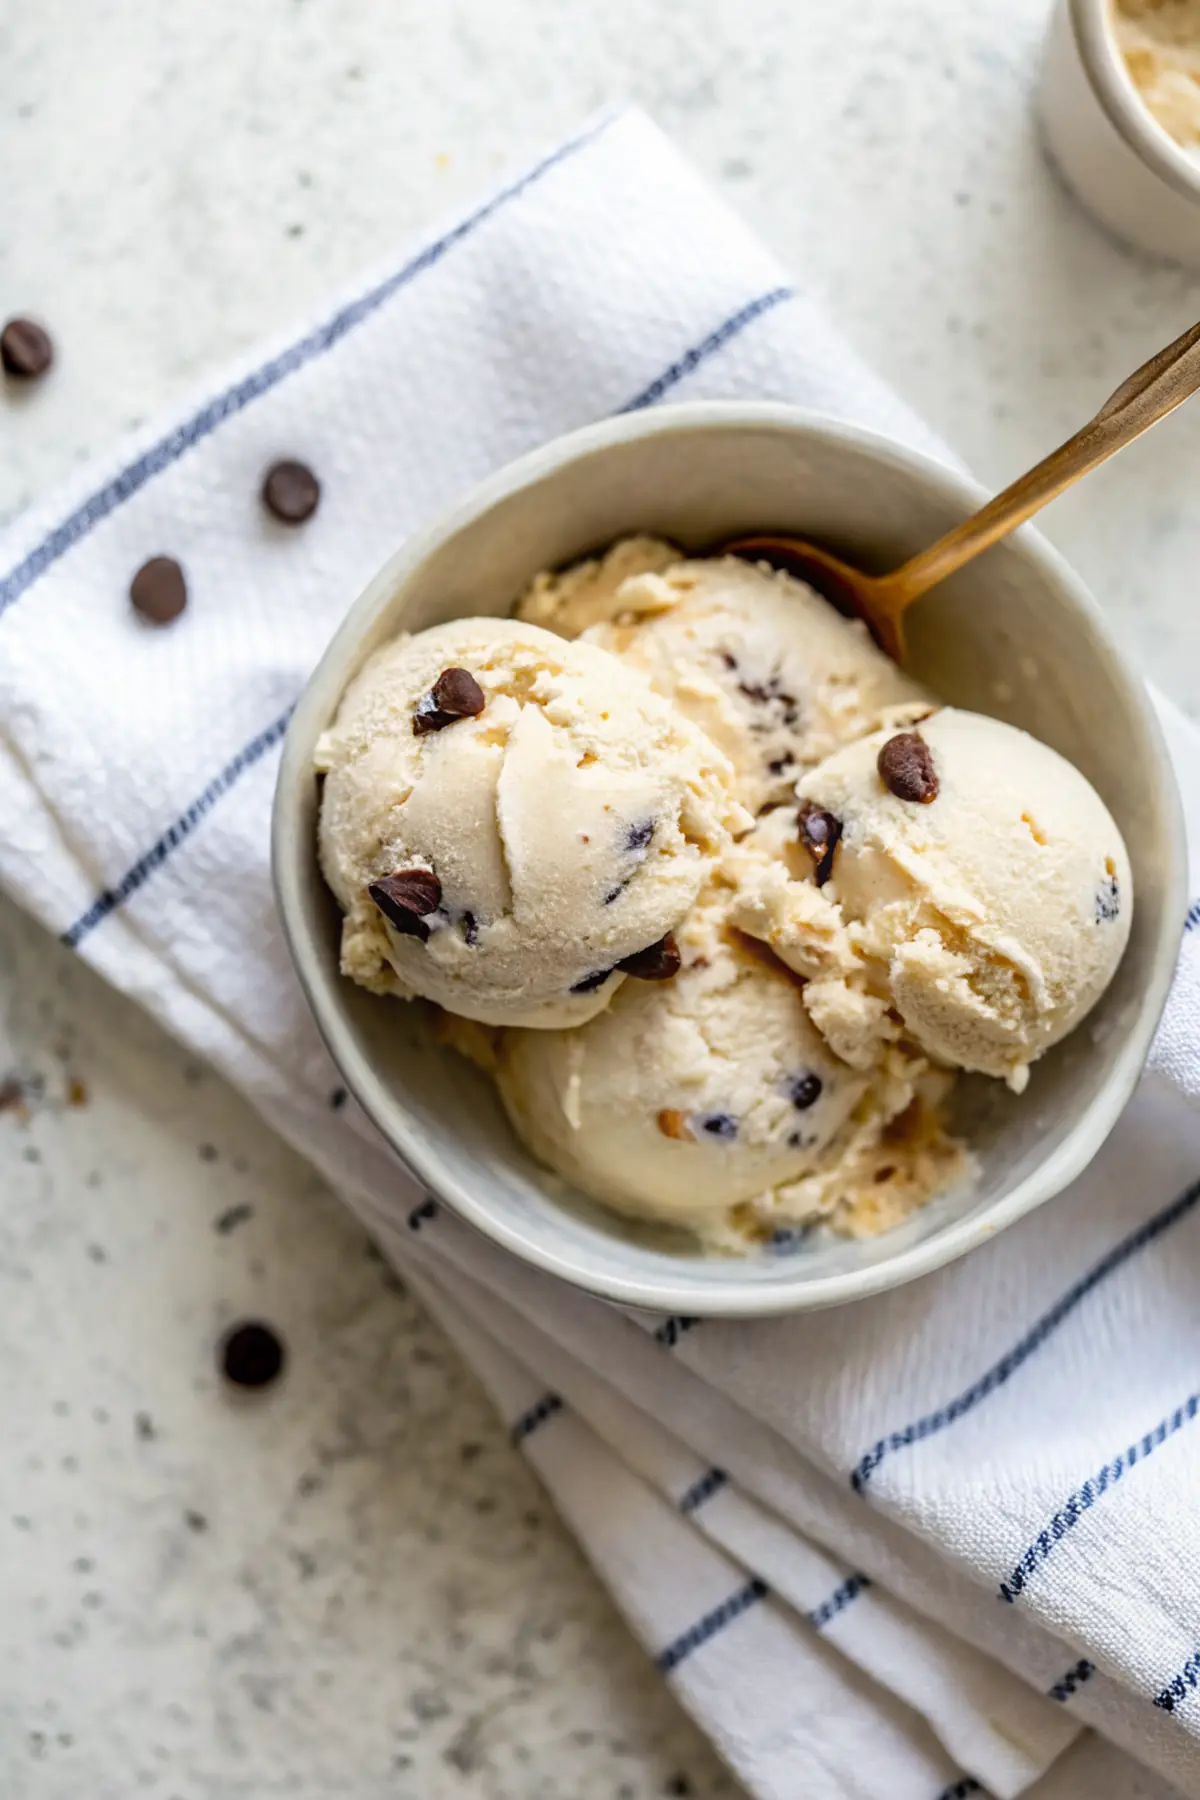
After a long day of recipe testing, I sometimes find myself hit with a late-night craving for something sweet and creamy. This is where my Creamy Cottage Cheese Ice Cream comes in—a delightfully simple treat that not only satisfies my sweet tooth but also packs in some high-quality protein. With just a handful of ingredients, this recipe transforms cottage cheese into a dreamy dessert that the whole family loves.
Why You’ll Love This Creamy Cottage Cheese Ice Cream
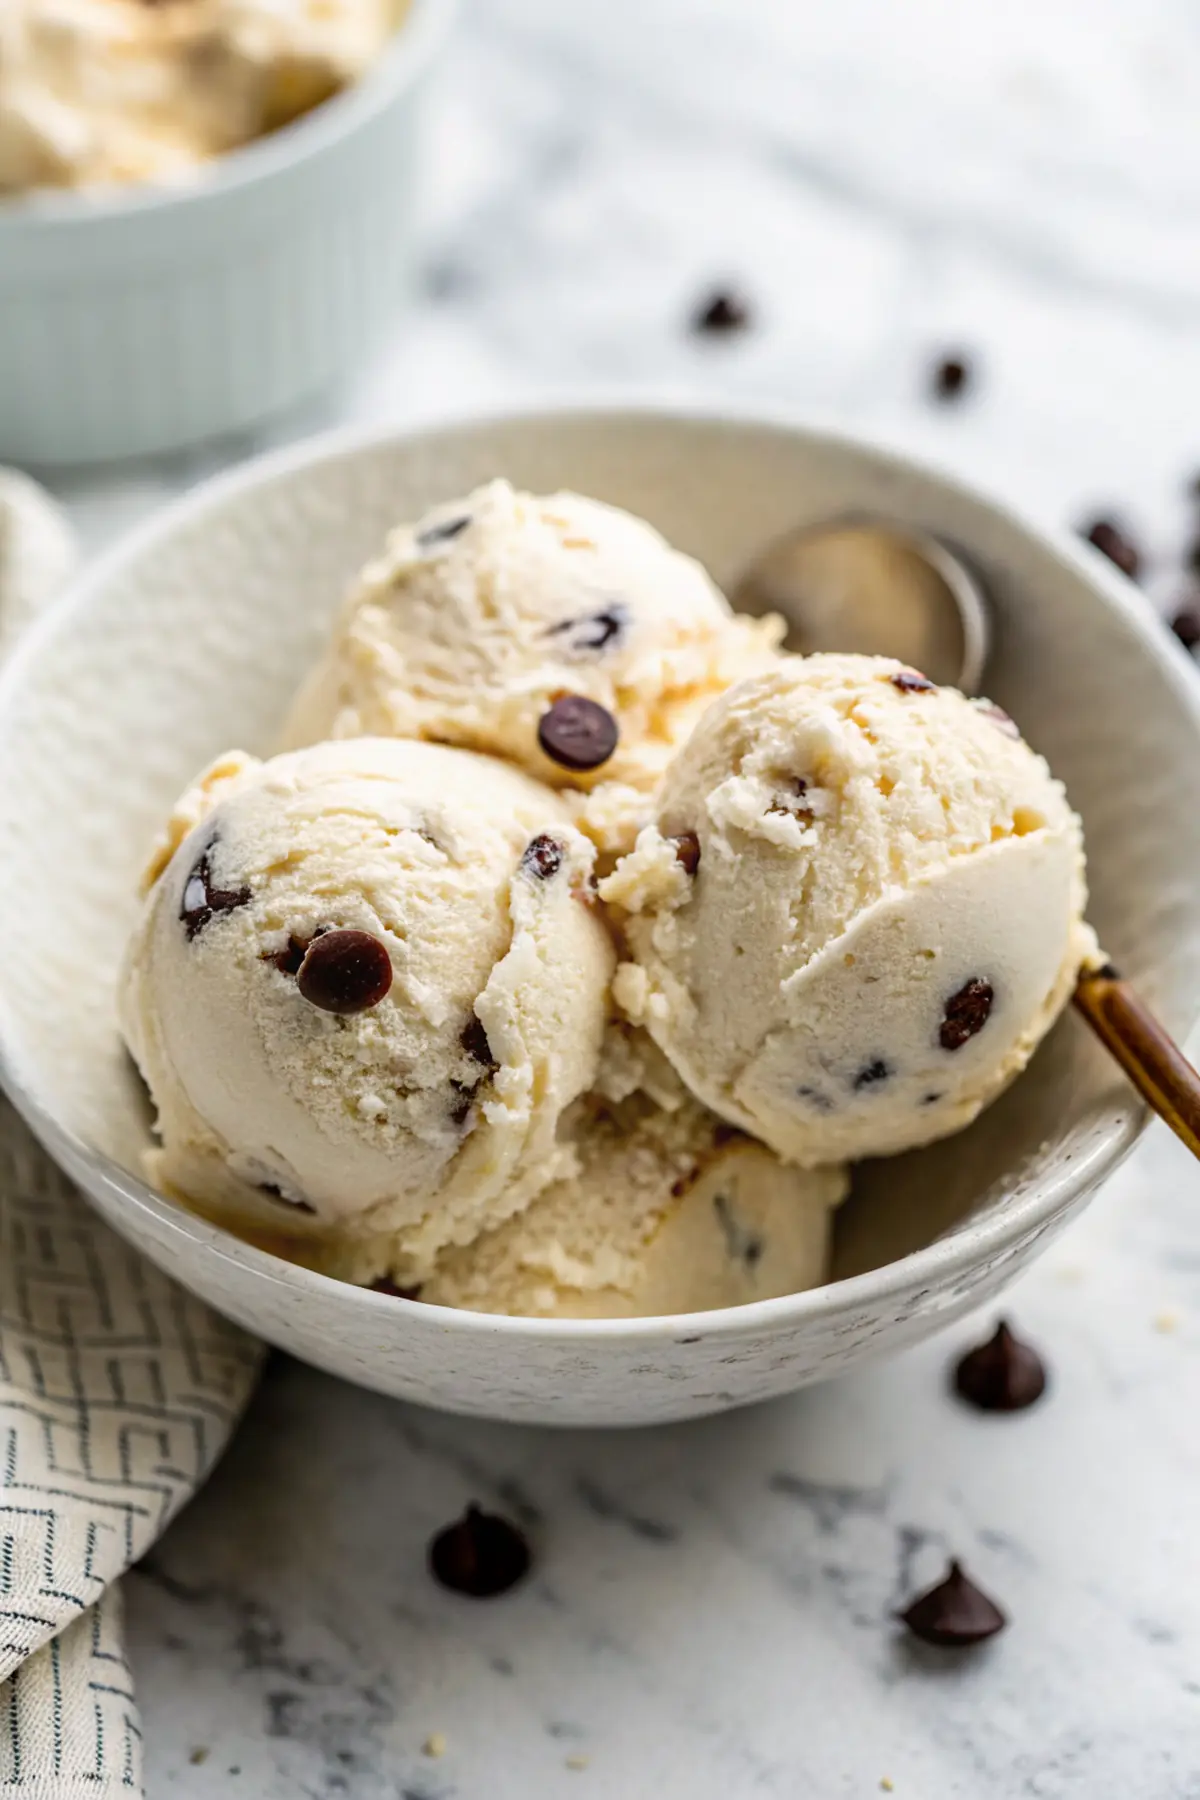
The first time I made this ice cream, I was pleasantly surprised by how smooth and rich it turned out. Combining cottage cheese with peanut butter gives it a creamy texture and a protein kick, making it a standout dessert in our home. It’s amazing how such simple ingredients can create a treat that everyone from picky eaters to adults can enjoy.
Whether I’m prepping for a busy week or looking for something to cool down on a hot day, this ice cream checks all the boxes. It’s also a great way to use up cottage cheese before it reaches its expiry date, making it not just delicious but also practical to make!
What Makes this Recipe Unique
– **Protein Power**: Using full-fat cottage cheese increases the protein content, making this dessert more filling and satisfying.
– **Balanced Sweetness**: The combination of honey and peanut butter creates a unique sweetness that feels indulgent without being overly sugary.
– **Silky Texture**: Blending the ingredients results in a smooth, airy mixture that freezes beautifully, giving that typical ice cream creaminess without any churning.
– **Easy Prep**: This ice cream requires no special equipment or lengthy processes—just a blender and a freezer!
Estimated Macros & Calories
If you’re curious about the nutrition info, here it is:
(estimated per serving, without optional ingredients)
- Calories: 220
- Protein: 15 g
- Carbohydrates: 25 g
- Fat: 7 g
- Fiber: 1 g
The Most Authentic Creamy Cottage Cheese Ice Cream Recipe
This recipe celebrates the transformative power of simple ingredients. With just a few steps, you’ll have a creamy, indulgent dessert that feels like a treat but offers solid nutritional benefits. It’s an ideal choice for a post-workout snack or a guilt-free dessert option.
Ingredient Notes
– Cottage Cheese: The star of the show, it provides a creamy base and a hefty dose of protein, giving this ice cream an unexpected nutritional edge.
– Honey: Acts as a natural sweetener and enhances the overall flavor. Adjust the amount to your family’s taste preferences; I usually add a little more for those with a sweet tooth.
– Peanut Butter: Adds richness and a delicious nutty flavor. Use the creamy variety for a smooth texture—crunchy can disrupt the ice cream’s consistency.
– Vanilla Extract: This enhances the dessert’s flavor profile. Always opt for pure vanilla extract when possible for the best taste.
– Chocolate Chips: They’re optional but offer a delightful contrast to the creamy base. Just make sure to fold them in gently to keep them intact.
Instructions
Step 1: Blend Ingredients
Start by placing the cottage cheese, honey, peanut butter, vanilla extract, and sea salt in a high-speed blender or food processor. Blend on high until you achieve a smooth and slightly airy consistency, which should take a bit of time—but trust me, it’s worth it for that perfect texture!
Step 2: Sweeten to Taste
Stop and taste your mixture, adjusting the sweetness if desired. If you or your kids prefer a sweeter treat, adding more honey at this stage can make a big difference. Once it’s just how you like it, transfer the blended base to a medium bowl, cover it, and let it chill in the refrigerator.
Step 3: Fold in Chocolate Chips
After the chilling period, it’s time to add those chocolate chips! Use a rubber spatula to carefully fold them into the mixture until they’re evenly distributed. Be gentle to prevent the chocolate from melting too much and losing that delightful chip shape!
Step 4: Freeze the Mixture
Pour your ice cream mixture into a shallow metal or glass loaf pan. This helps the ice cream freeze faster and more evenly. Smooth out the top, cover it tightly with plastic wrap, and place it in the freezer.
Step 5: Stir Regularly
For the first few hours of freezing, take the pan out every 45 minutes and stir it vigorously with a fork or whisk. This step is crucial for achieving a creamy texture by preventing large ice crystals from forming. Return it to the freezer after each stir.
Step 6: Serve and Enjoy!
When you’re ready to enjoy your creamy cottage cheese ice cream, let it sit at room temperature for a few minutes to soften slightly. Scoop it into bowls, and if it’s a bit too hard, just give it a few more minutes before digging in. Your family will love this treat!
Tips and Mistakes to Avoid
– Keep an eye on the blending process—it’s important to blend long enough for a smooth texture, but don’t overdo it to avoid a watery mixture.
– Make sure to chill the base before freezing; it helps create that creamy texture everyone loves.
– If your ice cream gets too hard during storage, don’t resort to microwaving it. Let it soften at room temperature instead for the best scoop.
Storage Tips
Store any leftovers in an airtight container in the freezer, and it should keep well for a few weeks. If you find it gets a bit icy, just stir it thoroughly to rejuvenate the texture. As a meal prep option, you can make this ahead of time for quick, healthy snacks or desserts during the week.
Variations and Substitutions
If you’re looking to boost the protein even more, consider adding a scoop of your favorite protein powder into the mix during blending. For lower-carb swaps, you could use a sugar-free sweetener instead of honey to keep the flavor without the carbs. These options keep this treat versatile for different dietary needs!
Why This Recipe Is The Real Deal
The blend of cottage cheese and peanut butter doesn’t just offer a taste sensation; it’s also a perfect protein source, making this ice cream a smart choice for dessert. The smooth texture you achieve truly feels indulgent, making it hard to believe that it’s actually good for you! In my kitchen, it’s become a go-to dessert after busy days, proving that you don’t have to sacrifice nutrition for flavor.
The Bottom Line
So the next time you’re faced with a sweet craving or need a high-protein treat, give this Creamy Cottage Cheese Ice Cream a try. I promise, everyone will be coming back for seconds! Happy blending!
Daisy Hartmann, RDN
Founder of GoProteinEats.com
Making high-protein eating simple, delicious, and sustainable for real life.

Creamy Cottage Cheese Ice Cream
Ingredients
Ice Cream Base
- 1 3/4 cups full-fat cottage cheese (about 14–15 oz)
- 3 Tbsp honey
- 1 1/2 Tbsp creamy peanut butter
- 1 tsp pure vanilla extract
- 1/8 tsp fine sea salt
Mix-ins
- 3 Tbsp semi-sweet chocolate chips
Instructions
Preparation Steps
- Place the cottage cheese, honey, peanut butter, vanilla, and sea salt in a high-speed blender or food processor. Blend on high until the mixture becomes very smooth and slightly airy, about 45–60 seconds; stop and scrape down the sides once if needed.
- Taste and adjust sweetness—add up to 1 more tablespoon of honey if you prefer it sweeter. Once balanced, transfer the blended base to a medium bowl, cover, and chill in the refrigerator for 20–30 minutes to firm up slightly (this helps a creamier freeze).
- After chilling, fold the chocolate chips into the mixture with a rubber spatula so they’re evenly distributed but not melted.
- Pour the mix into a shallow metal or glass loaf pan (helps freeze faster and more evenly). Smooth the top, cover tightly with plastic wrap, and place in the freezer.
- To reduce ice crystals and keep the texture scoopable, remove the pan every 45 minutes for the first 2–3 hours and stir vigorously with a fork or whisk, breaking up any forming crystals. Return to the freezer between stirs. Total freeze time should be about 3.5–4 hours until firm.
- When ready to serve, let the ice cream sit at room temperature for 5–8 minutes to soften slightly, then scoop into bowls. If it becomes too hard, let it sit a bit longer rather than microwaving.