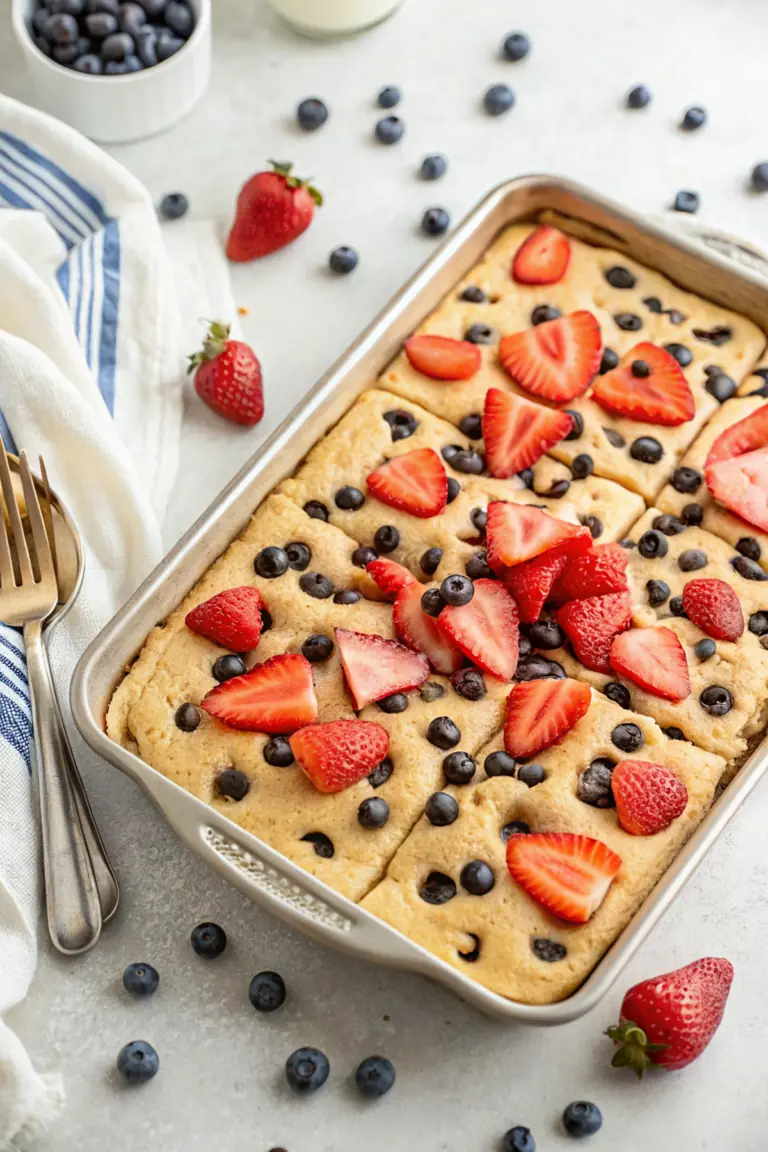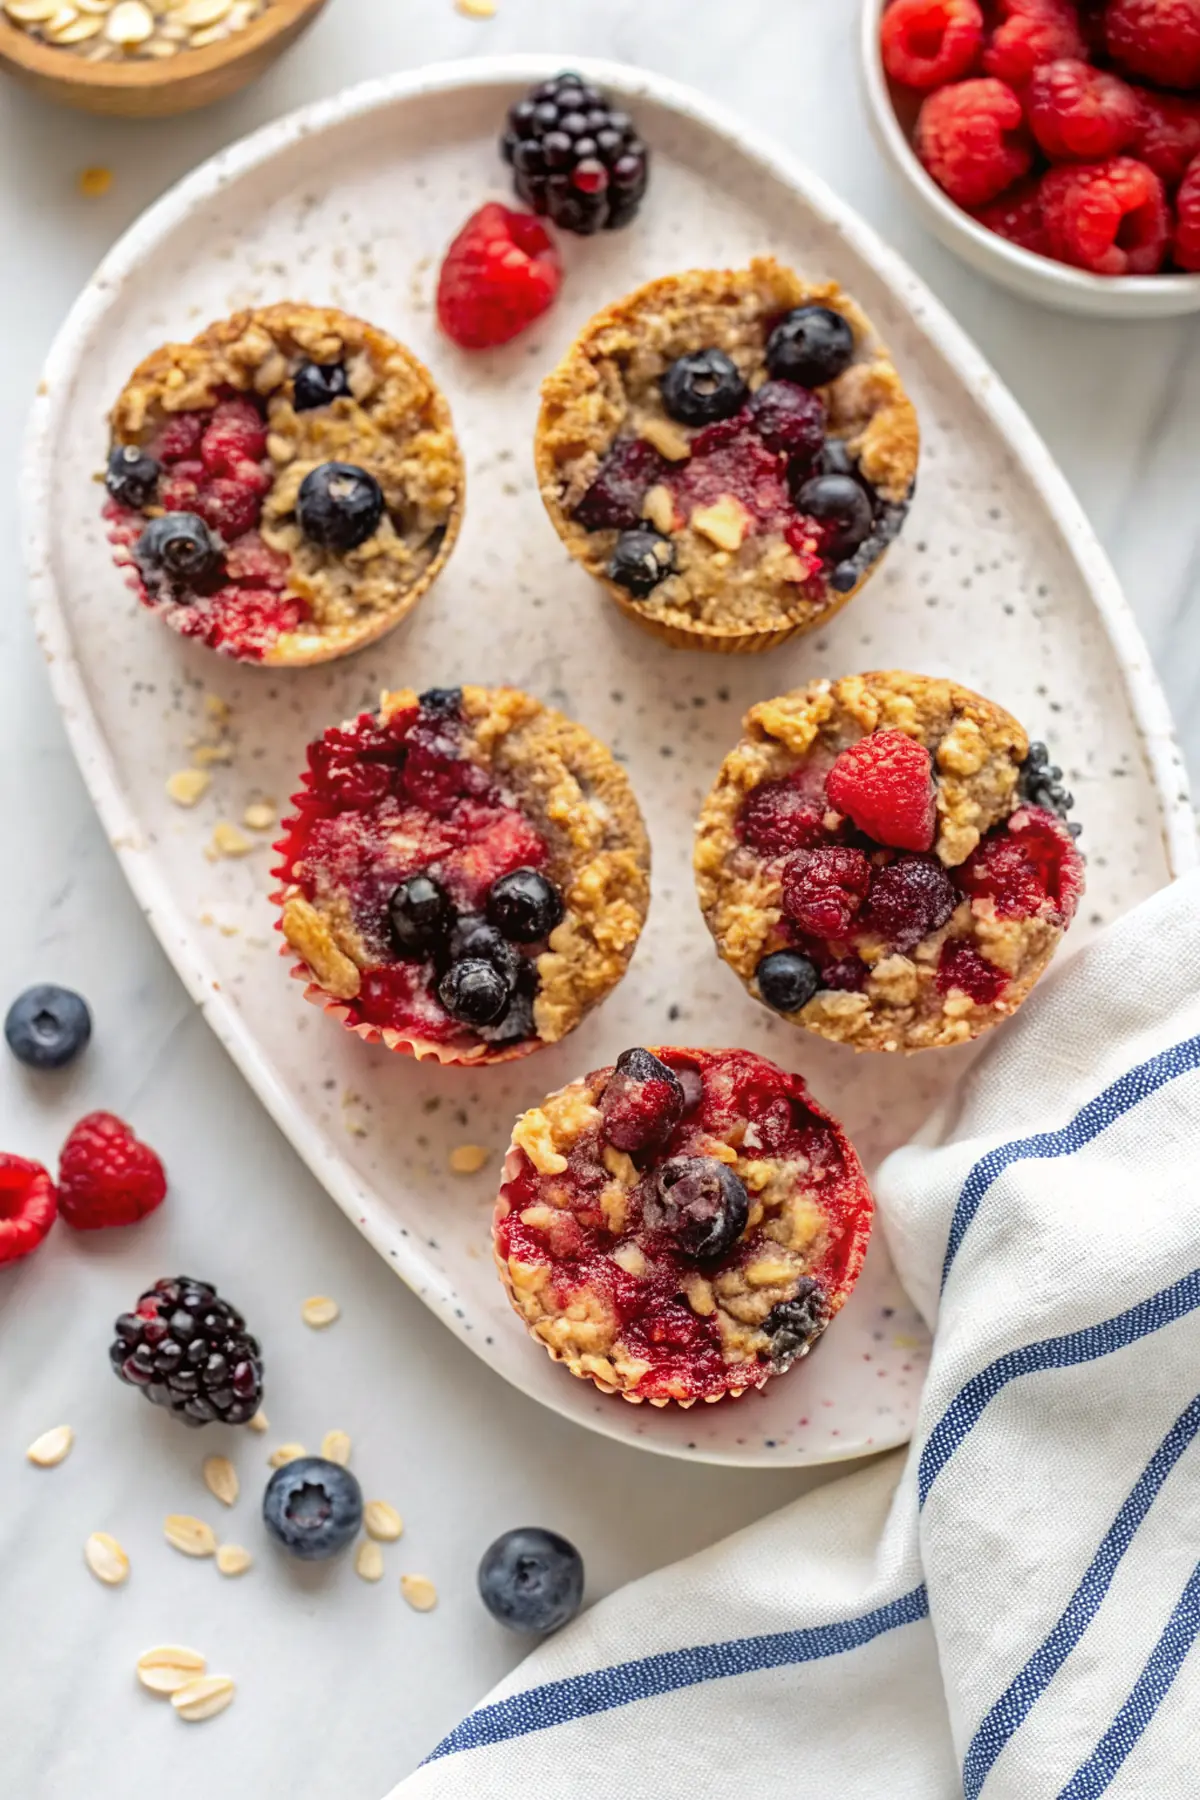
Some days are just rushed, especially those hectic mornings when the kids are running around and there’s barely time to get breakfast on the table. That’s why I love making these Cottage Cheese Baked Oatmeal Cups; they’re not just protein-packed and delicious, but also super easy to whip up ahead of time. I can grab them on busy mornings, and they keep my family fueled and satisfied until lunch.
Why You’ll Love This Cottage Cheese Baked Oatmeal Cups
This recipe is a staple in my kitchen due to its versatility and nutritional value. I originally came up with it while trying to incorporate more protein into our breakfasts. It quickly became a family favorite, as the kids love the sweetness from the maple syrup and the burst of flavor from the berries.
These baked oatmeal cups are perfect for meal prep—all you need is one baking session to produce a full week’s worth of breakfasts or snacks. They hold up well throughout the week, making them a great option for busy mornings when time is scarce.
What Makes this Recipe Unique
– **High-Protein Boost:** With cottage cheese and almond milk, these cups pack extra protein to start your day right.
– **Berry Goodness:** The mixed berries add vibrant flavor and natural sweetness while being low in calories.
– **Texture Variety:** The combination of soft oatmeal and creamy cottage cheese gives an enjoyable mouthfeel.
– **Easy Customization:** You can alter the ingredients according to your family’s preferences or what’s on hand, like different fruits or sweeteners.
Estimated Macros & Calories
Here’s a quick look at the nutrition you can expect from these delightful cups.
(estimated per serving, without optional ingredients)
- Calories: 150
- Protein: 7 g
- Carbohydrates: 22 g
- Fat: 4 g
- Fiber: 3 g
The Most Authentic Cottage Cheese Baked Oatmeal Cups Recipe
When I first made these Cottage Cheese Baked Oatmeal Cups, I was pleasantly surprised how simple it was to turn basic ingredients into a wholesome breakfast option. They’re perfect for those hectic mornings or as a quick grab-and-go snack. Plus, my kids absolutely devour them!
Ingredient Notes
– Cottage Cheese: Provides a creamy texture and is a fantastic source of protein, keeping everyone full for longer.
– Almond Milk: A dairy-free option that helps bind the mixture, making it moist and fluffy without the extra calories of cream.
– Egg: Acts as a binding agent while adding to the protein content; a must-have for perfect structure.
– Rolled Oats: The base of these cups, they contribute fiber and heartiness, ensuring these stay filling.
– Maple Syrup: Adds natural sweetness and flavor; don’t skip this for a richer taste.
Instructions
Step 1: Preheat the Oven
Start by preheating your oven to 350°F (175°C). Prepare a 12-cup muffin tin by lightly greasing it or lining it with paper liners to prevent sticking.
Step 2: Combine Wet Ingredients
In a medium bowl, whisk together the egg, maple syrup, vanilla extract, and fresh lemon zest until they are well combined. Stir in the cottage cheese and almond milk, breaking apart the curds with a fork until the mixture has a fairly even texture but maintains some chunkiness.
Step 3: Mix Dry Ingredients
In a large bowl, toss together the rolled oats, baking powder, ground cinnamon, and salt. This step ensures even distribution of the leavening and spices, which is key for uniform flavor.
Step 4: Combine Mixtures
Pour the wet mixture into the dry ingredients. Gently fold with a spatula until no large dry pockets remain. Let it rest for 8-10 minutes, allowing the oats to absorb some liquid and soften up.
Step 5: Add Berries
Carefully fold in the mixed berries, making sure to reserve a few for topping later. Then, divide the batter evenly among the prepared muffin cups, filling them nearly to the top. Press a couple of reserved berries into each cup for a lovely finish.
Step 6: Bake the Cups
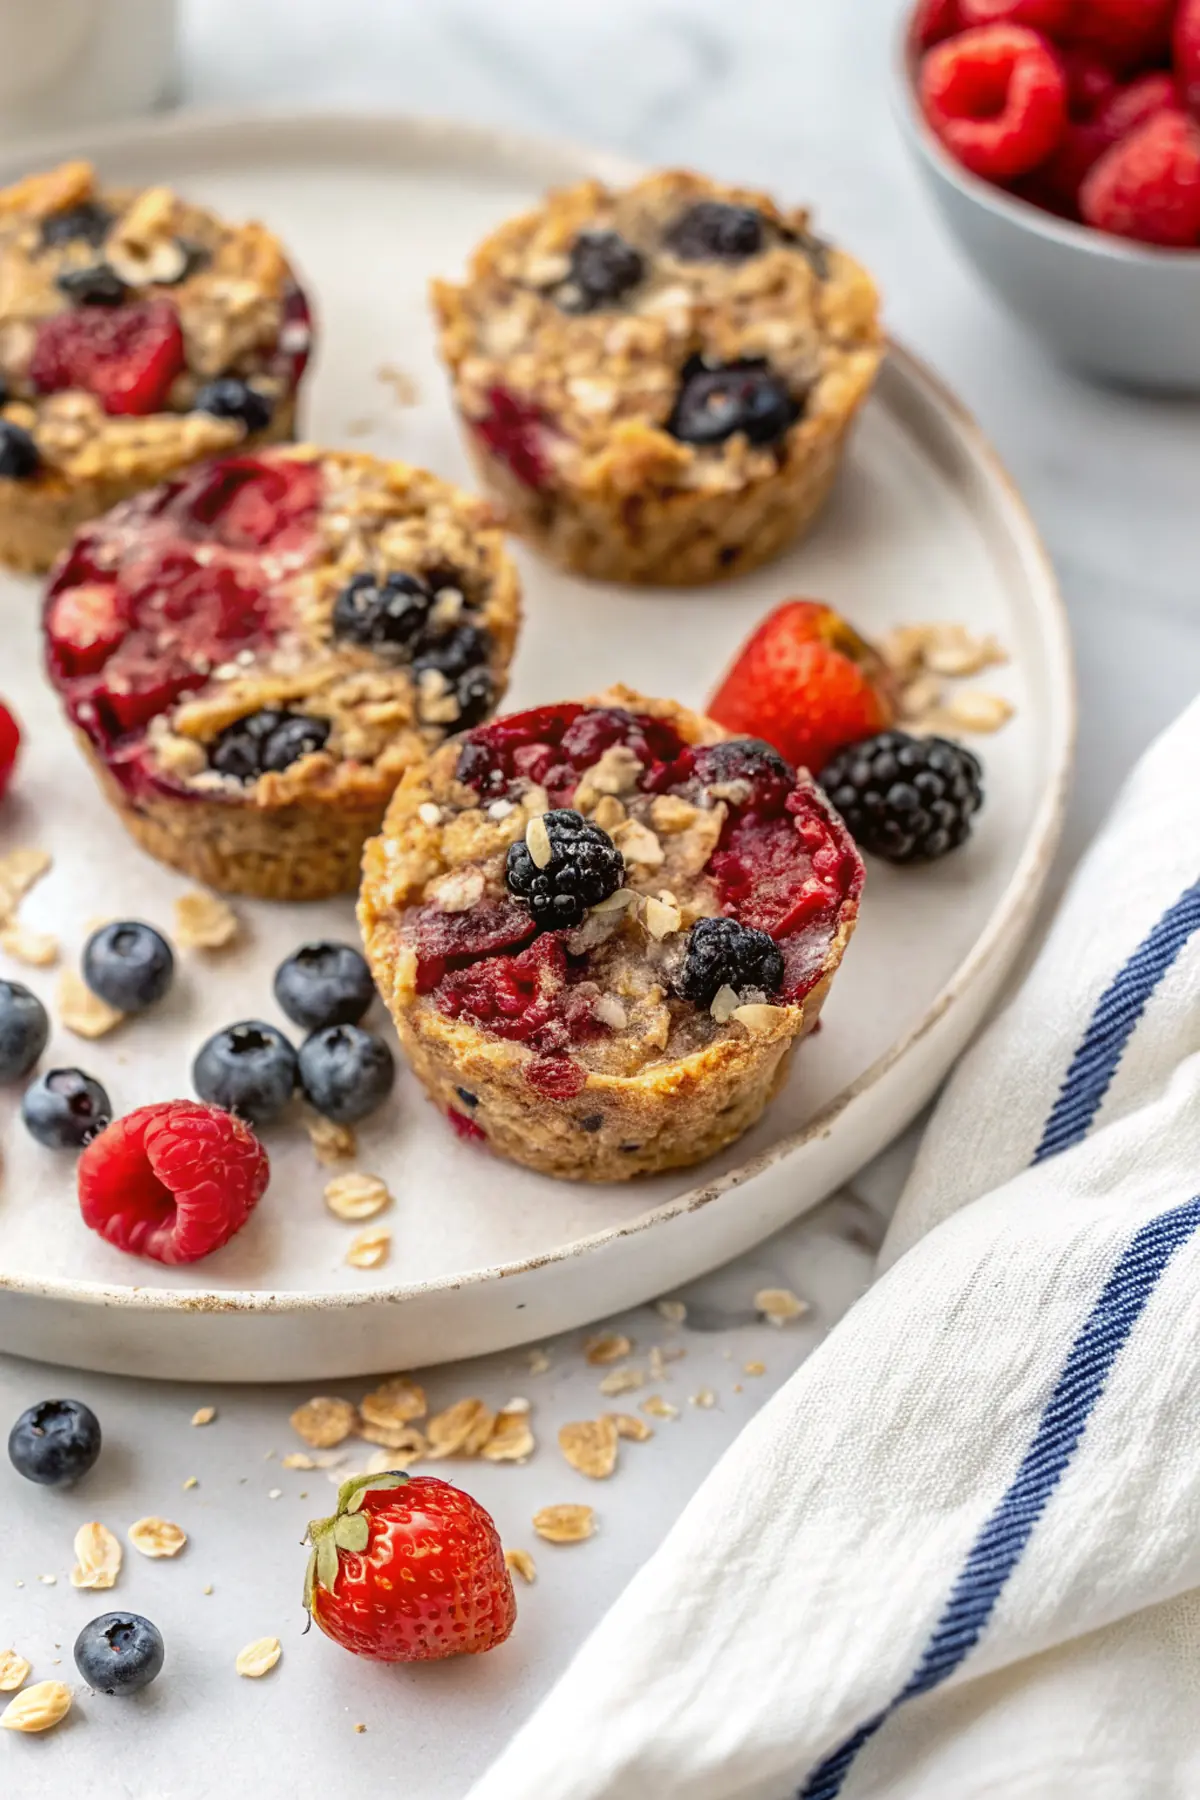
Bake in the middle of the oven for about 22-26 minutes, rotating the pan halfway through. They’re done when the tops are set and edges are lightly golden. A toothpick inserted should come out mostly clean.
Step 7: Cool and Enjoy
Let the cups cool in the tin for about 12-15 minutes to firm up, then transfer to a wire rack. For a better texture, chill them in the refrigerator for a bit before enjoying, as they slice and hold together better when slightly cool.
Tips and Mistakes to Avoid
– Make sure to whisk thoroughly; uneven mixing can lead to some cups being too dense while others are too loose.
– Don’t skip the resting time; this allows the oats to absorb the liquids effectively, achieving a thicker batter.
– Adjust the sweetness based on your berry level; if your berries are particularly tart, a bit more maple syrup might be wise.
Storage Tips
These baked oatmeal cups can be stored in the refrigerator for up to five days. If you choose to freeze them, wrap each cup individually to maintain freshness; they can be stored for up to two months. To reheat, simply pop them in the microwave for a few seconds, and they’re ready to go!
Variations and Substitutions
For a high-protein twist, consider adding a scoop of your favorite protein powder to the oatmeal mixture. If you’re looking for a vegetarian option, swap the egg with a flaxseed meal mixture for a similar binding effect. Mix it up with different fruits like bananas or apples to surprise the family!
Why This Recipe Is The Real Deal
What truly sets these baked oatmeal cups apart is their balanced protein profile provided by the cottage cheese and almond milk. Not only does this enhance their nutritional value, but it also keeps the texture satisfying and filling—perfect for any time of day.
Honestly, I love how easy they are to customize depending on what fruits I have on hand, making them a versatile option for breakfast or snacks. More than anything, knowing my kiddos are enjoying something nutritious makes all the effort worthwhile.
The Bottom Line
If you’re on the hunt for a reliable breakfast or snack option, these Cottage Cheese Baked Oatmeal Cups are definitely worth a try. Trust me, once you whip up a batch, you’ll wonder how you ever got along without them! Can’t wait to hear what you think!
Daisy Hartmann, RDN
Founder of GoProteinEats.com
Making high-protein eating simple, delicious, and sustainable for real life.

Cottage Cheese Baked Oatmeal Cups
Ingredients
Wet ingredients
- 1 cup unsweetened almond milk
- 1 cup cottage cheese
- 1 large egg
- 1/4 cup pure maple syrup
- 1 tsp vanilla extract
- 1 tsp fresh lemon zest
Dry ingredients
- 2 3/4 cups old-fashioned rolled oats
- 1 tsp baking powder
- 1/2 tsp ground cinnamon
- 1/2 tsp salt
Add-ins
- 1 1/2 cups mixed berries fresh or frozen; if frozen, no need to thaw
Instructions
Preparation Steps
- Preheat the oven to 350°F (175°C). Lightly grease a 12-cup muffin tin or line with paper liners and set aside.
- In a medium bowl, whisk the egg with the maple syrup, vanilla and lemon zest until combined. Stir in the cottage cheese and almond milk; break up the curds with a fork so the mixture is fairly even but still a bit textured.
- In a separate large bowl, toss together the oats, baking powder, cinnamon and salt to distribute the leavening and spices evenly.
- Pour the wet mixture into the dry ingredients and fold gently with a spatula until no large dry pockets remain. Let the batter rest for 8–10 minutes so the oats absorb liquid and soften; the batter should be thick but scoopable.
- Gently fold the mixed berries into the batter, reserving a few to top the cups, then divide the batter among the prepared muffin cups, filling each nearly full. Smooth tops and press a couple of reserved berries into each cup.
- Bake on the middle rack for 22–26 minutes, rotating the pan once halfway through, until the tops are set and edges are lightly golden. A toothpick inserted in the center should come out mostly clean.
- Allow the cups to cool in the tin for 12–15 minutes so they firm up, then transfer to a wire rack. For best texture, chill for 15–30 minutes before serving — they slice and hold together better when slightly cool.
- Serve warm or cold. Store leftovers in an airtight container in the refrigerator for up to 5 days or freeze individually wrapped for up to 2 months.