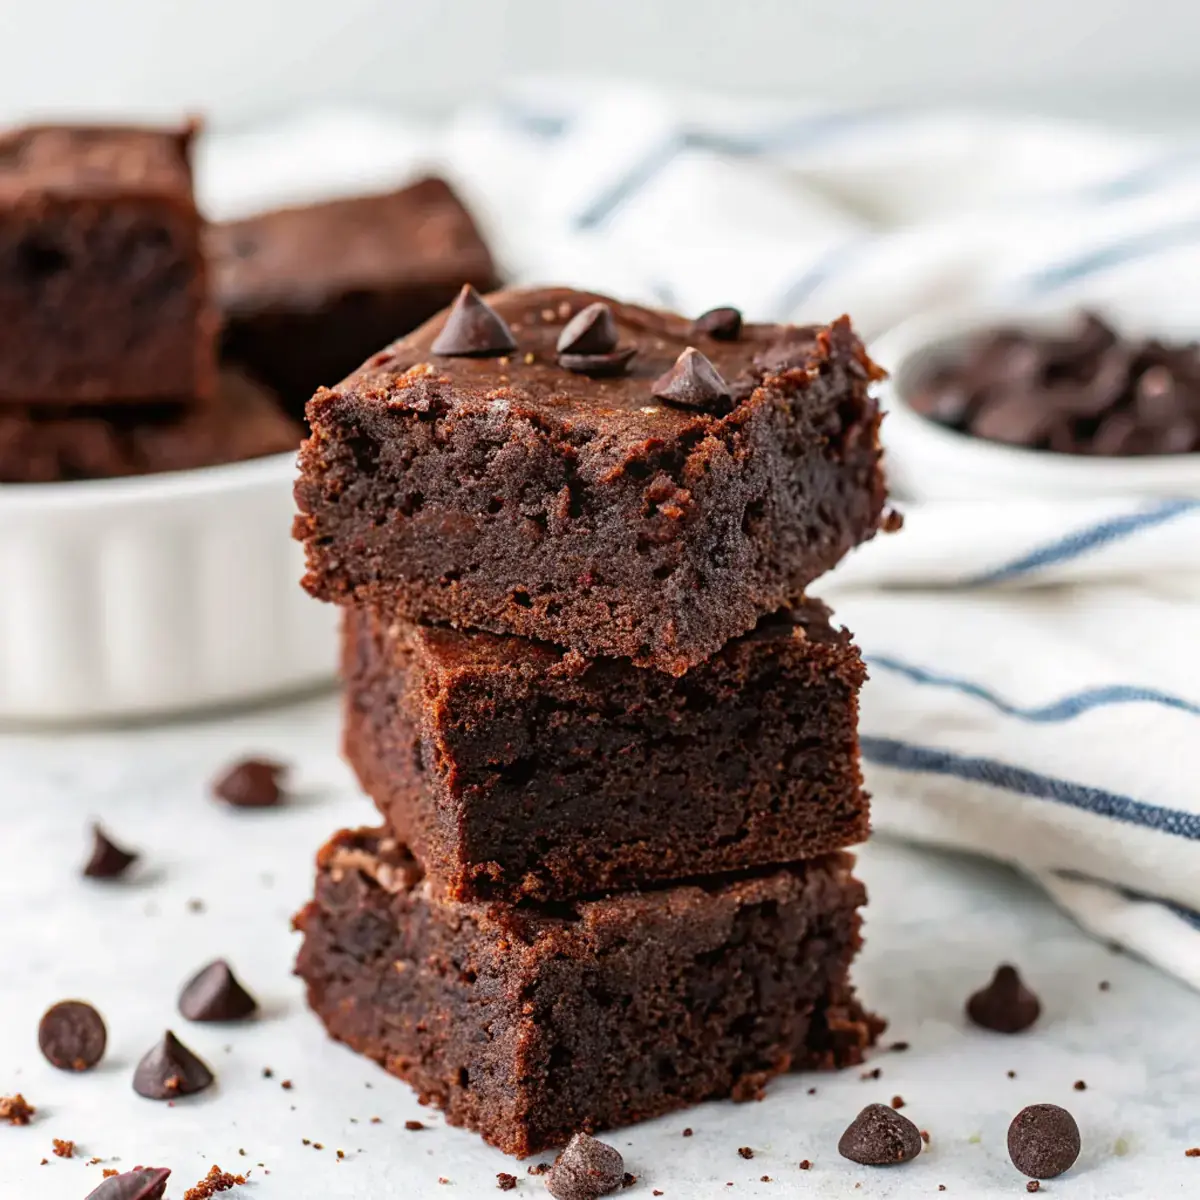
Warm peanut butter blends into batter like a dream. I made these during Sunday batch cooking while Noah napped and Lily lined the pan with parchment like a pro. We got them into the oven fast, and the kitchen smelled like a chocolate shop in minutes. This is the kind of protein snack that disappears before the week even starts.
Why You’ll Love This Flourless Peanut Butter Protein Brownies
I stumbled on this combo when I wanted a fudgy, flourless brownie that still delivered a solid protein bump. The protein powder and cocoa give that deep chocolate flavor without any actual chocolate bars, and the peanut butter keeps everything rich and moist.
Personally I’ve found this batter to be super forgiving. You whisk, fold, bake, and you’re done. My kids don’t care that there’s protein powder in here, they just ask for another square.
What Makes this Recipe Unique
– Peanut butter base: Creamy peanut butter stands in for flour to create structure and moisture.
– Quick warm-up step: Loosening the peanut butter first helps it whisk smoothly into the wet ingredients.
– Protein power: Chocolate protein powder adds meaningful protein without changing the classic brownie vibe.
– Deep cocoa flavor: Unsweetened cocoa adds that dark, brownie taste and helps with a fudgy bite.
– Balanced sweetness: Pure maple syrup blends right in and keeps the crumb tender.
– Optional warmth: A pinch of cinnamon is optional, but it adds a cozy note that plays well with chocolate.
Estimated Macros & Calories
Here’s a realistic snapshot of the nutrition based on the ingredients I used. (estimated per serving, without optional ingredients)
- Calories: 270
- Protein: 11 g
- Carbohydrates: 20 g
- Fat: 18 g
- Fiber: 4 g
The Most Authentic Flourless Peanut Butter Protein Brownies Recipe
These brownies come together with simple pantry staples and a couple of smart steps to keep them fudgy and satisfying. I usually make a batch on the weekend and stash a few squares for busy afternoons.
Ingredient Notes
– Creamy peanut butter: Acts as the base, replacing flour and keeping the texture rich and fudgy; warming it first helps everything blend evenly.
– Pure maple syrup: Sweetens and adds moisture so the crumb stays tender; no need for granulated sugar here.
– Large eggs: Provide structure and lift, and they help the brownies set without flour.
– Chocolate protein powder: Choose whey or plant-based; either way it boosts protein and supports that chewy bite.
– Unsweetened cocoa powder: Deepens the chocolate flavor and contributes to the dense, fudgy texture.
– Vanilla extract: Rounds out the sweetness and makes the chocolate taste fuller.
– Baking powder: A small lift keeps the brownies from feeling heavy.
– Fine salt: Essential for balancing sweetness and sharpening chocolate notes; don’t skip it.
– Ground cinnamon (optional): Adds a gentle warmth; I’ll add it when I want a subtle twist, leave it out for straight classic.
– Chocolate chips (optional, for topping)
Instructions
Step 1: Prep the Pan and Oven
Position a rack in the center of the oven and preheat to 325°F. Line an 8×8-inch baking pan with parchment, leaving an overhang so you can lift the brownies out easily later.
Step 2: Loosen the Peanut Butter
Place the peanut butter in a microwave-safe bowl and warm briefly until it loosens. It should be pourable but not hot so it blends smoothly into the batter.
Step 3: Whisk the Wet Ingredients
In a medium bowl, whisk the eggs and maple syrup until slightly frothy and well combined. Whisk in the warmed peanut butter and vanilla until the mixture looks glossy and uniform.
Step 4: Sift and Combine the Dry Mix
Sift the chocolate protein powder, cocoa powder, baking powder, salt, and cinnamon (if using) into a separate bowl to remove any lumps. Add this dry mix to the wet ingredients and fold gently with a rubber spatula just until no streaks remain.
If the batter feels unusually thick (depending on the protein powder), stir in 1–2 tablespoons of milk until thick but spreadable.
Step 5: Fill the Pan
Scrape the batter into the prepared pan and smooth the top with an offset spatula or the back of a spoon. Tap the pan once on the counter to settle the batter and release trapped air.
Step 6: Bake to Fudgy Doneness
Bake until the centers are set but still slightly soft. A toothpick inserted near the center should come out with a few moist crumbs, not wet batter. Do not overbake. The brownies will continue to set as they cool.
Step 7: Cool and Chill for Clean Slices
Cool the pan on a wire rack, then use the parchment overhang to lift the slab out. For neater edges and a firmer texture, chill briefly before cutting into squares.
Step 8: Store for Later
Place leftovers in an airtight container and refrigerate for up to 5 days, or freeze individual squares for longer storage. Thaw in the fridge or at room temperature when ready to eat.
Tips and Mistakes to Avoid
– Don’t skip sifting the dry ingredients; it prevents chalky pockets of protein powder or cocoa.
– Warm the peanut butter gently; if it’s hot, it can scramble the eggs or make the batter greasy.
– Fold, don’t beat, once the dry mix goes in; overmixing tightens the crumb and makes the brownies tough.
– Start testing early; you want moist crumbs on the tester, not a bone-dry stick.
– Line with parchment and leave an overhang so the brownies come out in one clean lift.
Storage Tips
– In the fridge, store in an airtight container and they’ll stay fresh for up to 5 days.
– For the freezer, wrap individual squares and stash in a zip-top bag; they’re easy to grab and thaw.
– To serve, let a square come to room temp or give it a short microwave warm-up for that soft, fudgy middle.
– Meal prep win: portion a few pieces into lunch boxes or your gym bag snack rotation.
– Every protein powder absorbs moisture differently. If the batter is too thick, add a little milk.
Variations and Substitutions
– Swap protein type: use whey for a slightly lighter texture or plant-based for a heartier chew; both are great here.
– Cinnamon is optional; I add it when I want a little warmth, skip it when the kids want straight chocolate.
– If your peanut butter is already salted, keep the pinch of salt as written or dial it back slightly to taste.
– Prefer a leaner macro profile? Choose a whey isolate chocolate protein powder within the chocolate protein powder options noted.
Why This Recipe Is The Real Deal
The method is simple and dependable: warm the peanut butter so it blends, sift the powders so the crumb stays smooth, and bake just to that fudgy sweet spot. You get brownies that taste like dessert while still delivering meaningful protein.
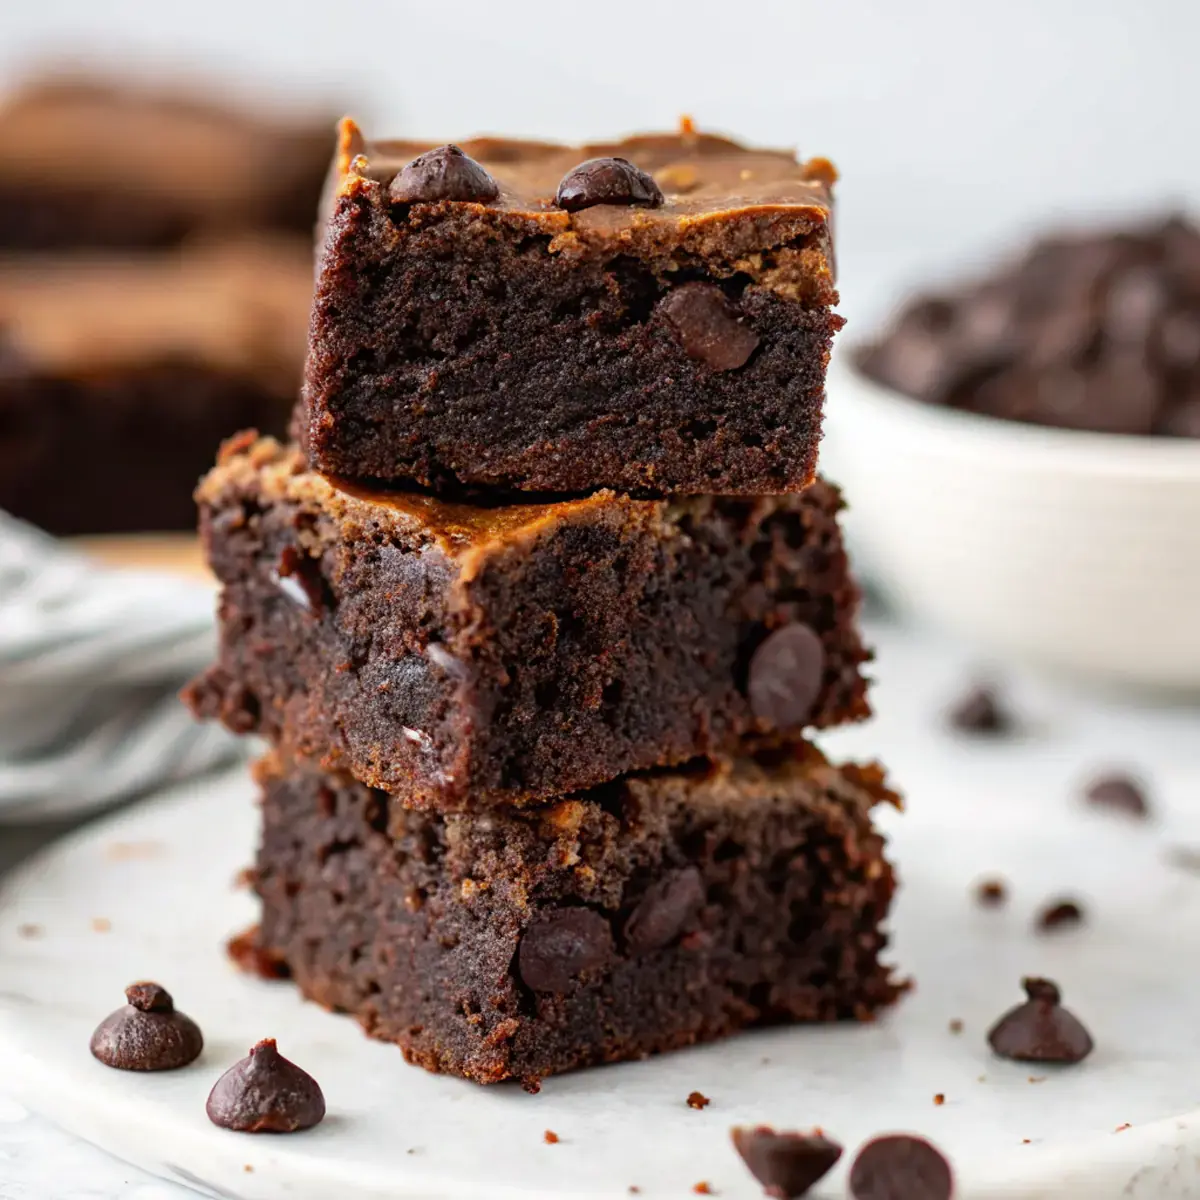
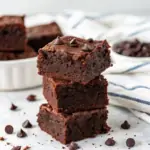
Texture-wise, these hit the mark. Slightly set edges, soft centers, and a glossy top that slices clean after a quick chill. I’ve made them more times than I can count, and they’re a repeat request at my house.
The Bottom Line
If you want a flourless brownie that actually tastes like a brownie and quietly boosts your protein goals, this one’s ready for you. Make a batch, leave a rating, and tell me how they went in your kitchen.
Daisy Hartmann, RDN
Founder of GoProteinEats.com
Making high-protein eating simple, delicious, and sustainable for real life.
Flourless Peanut Butter Protein Brownies
Ingredients
Brownie Batter
- 1 1/2 cup creamy peanut butter (stirred)
- 2/3 cup pure maple syrup
- 3 large eggs
- 1/2 cup chocolate protein powder whey or plant-based
- 1/3 cup unsweetened cocoa powder
- 1 tsp vanilla extract
- 1/2 tsp baking powder
- 1/4 tsp fine salt
- 1/2 tsp ground cinnamon optional — adds warmth
- 2 tbsp chocolate chips (optional, for topping)
Instructions
Preparation Steps
- Position a rack in the center of the oven and preheat to 325°F. Line an 8×8-inch baking pan with parchment paper, leaving a couple of inches of overhang to lift the brownies out later.
- Place the peanut butter in a microwave-safe bowl and warm for 20–30 seconds until it loosens (it should be pourable but not hot). This makes it easier to blend into a smooth batter.
- In a medium mixing bowl whisk the eggs and maple syrup vigorously until slightly frothy and well combined, about 30 seconds. Whisk in the warmed peanut butter and vanilla until the wet mixture is glossy and uniform.
- Sift together the protein powder, cocoa powder, baking powder, salt, and cinnamon into a separate bowl to remove lumps. Add the dry mix to the wet ingredients and fold gently with a rubber spatula until just combined and no streaks remain. If the batter feels unusually thick (depending on the protein powder), stir in 1–2 tablespoons of milk.
- Scrape the batter into the prepared pan and smooth the top with an offset spatula or the back of a spoon. Tap the pan once on the counter to settle the batter and release any trapped air.
- Bake in the preheated oven for 16–20 minutes. Start checking at 16 minutes — the centers should be set but still slightly soft; a toothpick inserted near the center will come out with a few moist crumbs. Do not overbake. The brownies will continue to set as they cool.
- Let the pan cool on a wire rack for about 15 minutes, then use the parchment overhang to lift the slab from the pan. For cleaner slices and a firmer texture, chill the brownies in the refrigerator for 20–30 minutes before cutting into 12 squares.
- Store leftovers in an airtight container in the refrigerator for up to 5 days, or freeze individual squares for longer storage.