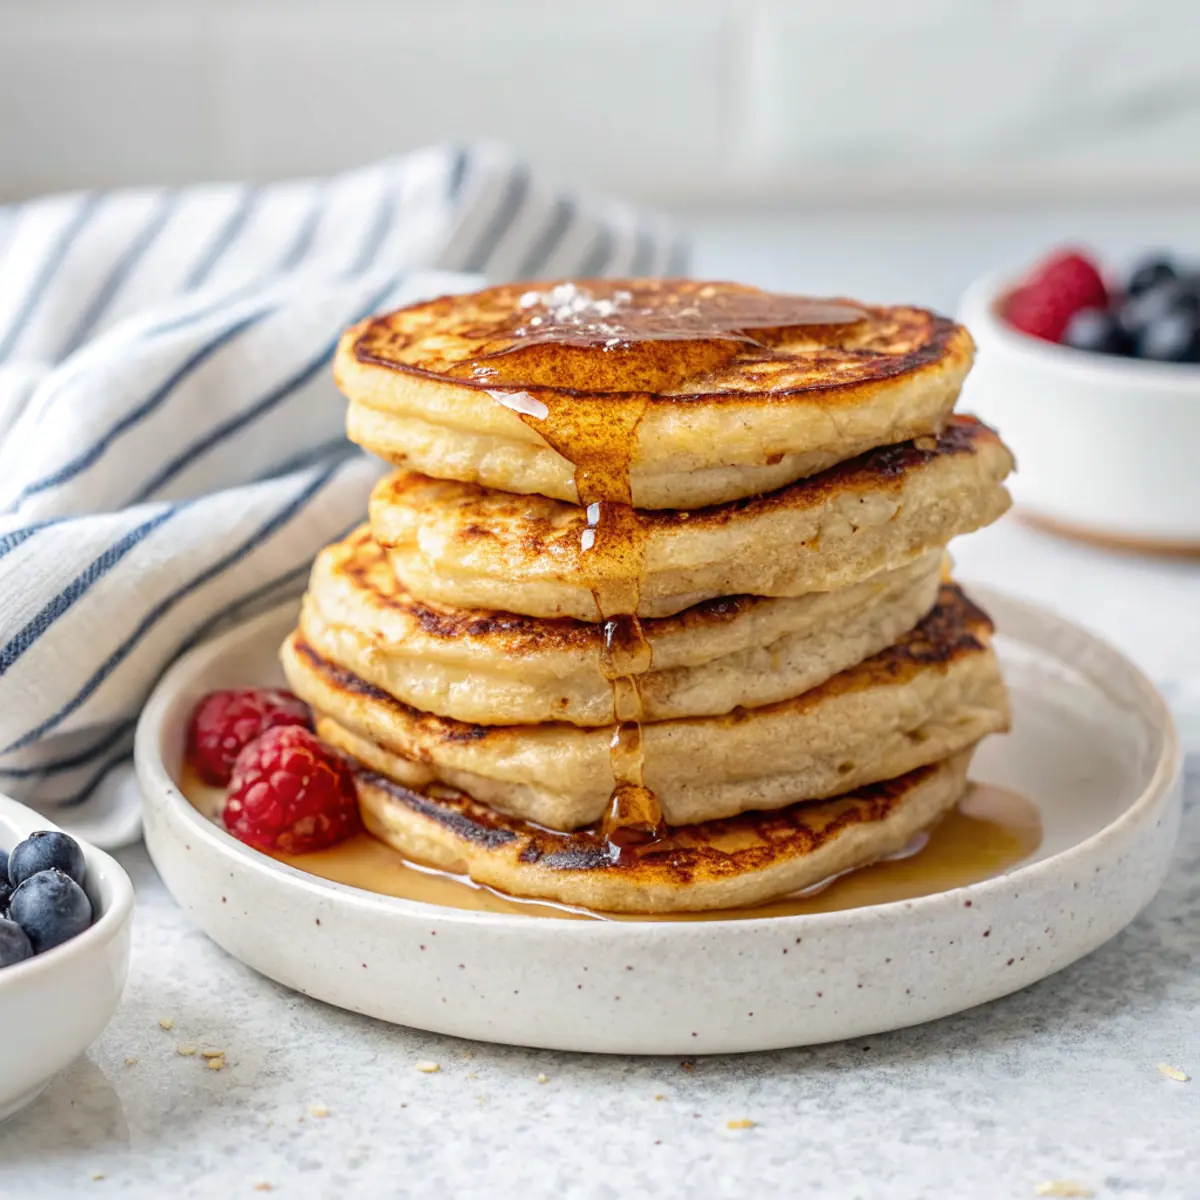
I often find myself in a rush before school drop-off, piecing together breakfast in a frenzy while the kids gather their backpacks. This is when I love turning to my trusty recipe for Fluffy Greek Yogurt Pancakes. They come together quickly, satisfying those hungry little bellies with a nutritious punch. Plus, there’s something so satisfying about pancakes that make it feel like a treat, even when you’re pressed for time.
Why You’ll Love This Fluffy Greek Yogurt Pancakes
These pancakes hit the perfect balance of fluffy texture and heartiness, thanks to the rolled oats or oat flour. I stumbled upon this recipe during a busy morning and found that using Greek yogurt not only adds protein but makes the pancakes super creamy. The whole family quickly became fans, and I love knowing that each bite is filling enough to power them through the morning.
What Makes this Recipe Unique
– **Oats or Oat Flour:** Using oats gives these pancakes a delightful texture, both hearty and fluffy. It also brings natural fiber to the mix.
– **High Protein:** The Greek yogurt elevates the protein content, making these not just any pancakes, but a filling breakfast option perfect for busy days.
– **Quick to Prepare:** With minimal prep, you can whip these up before a hectic morning routine, ensuring everyone gets a nutritious start.
– **Flavor Variety:** Adding optional lemon zest brightens the flavor, enhancing each bite with a fresh twist.
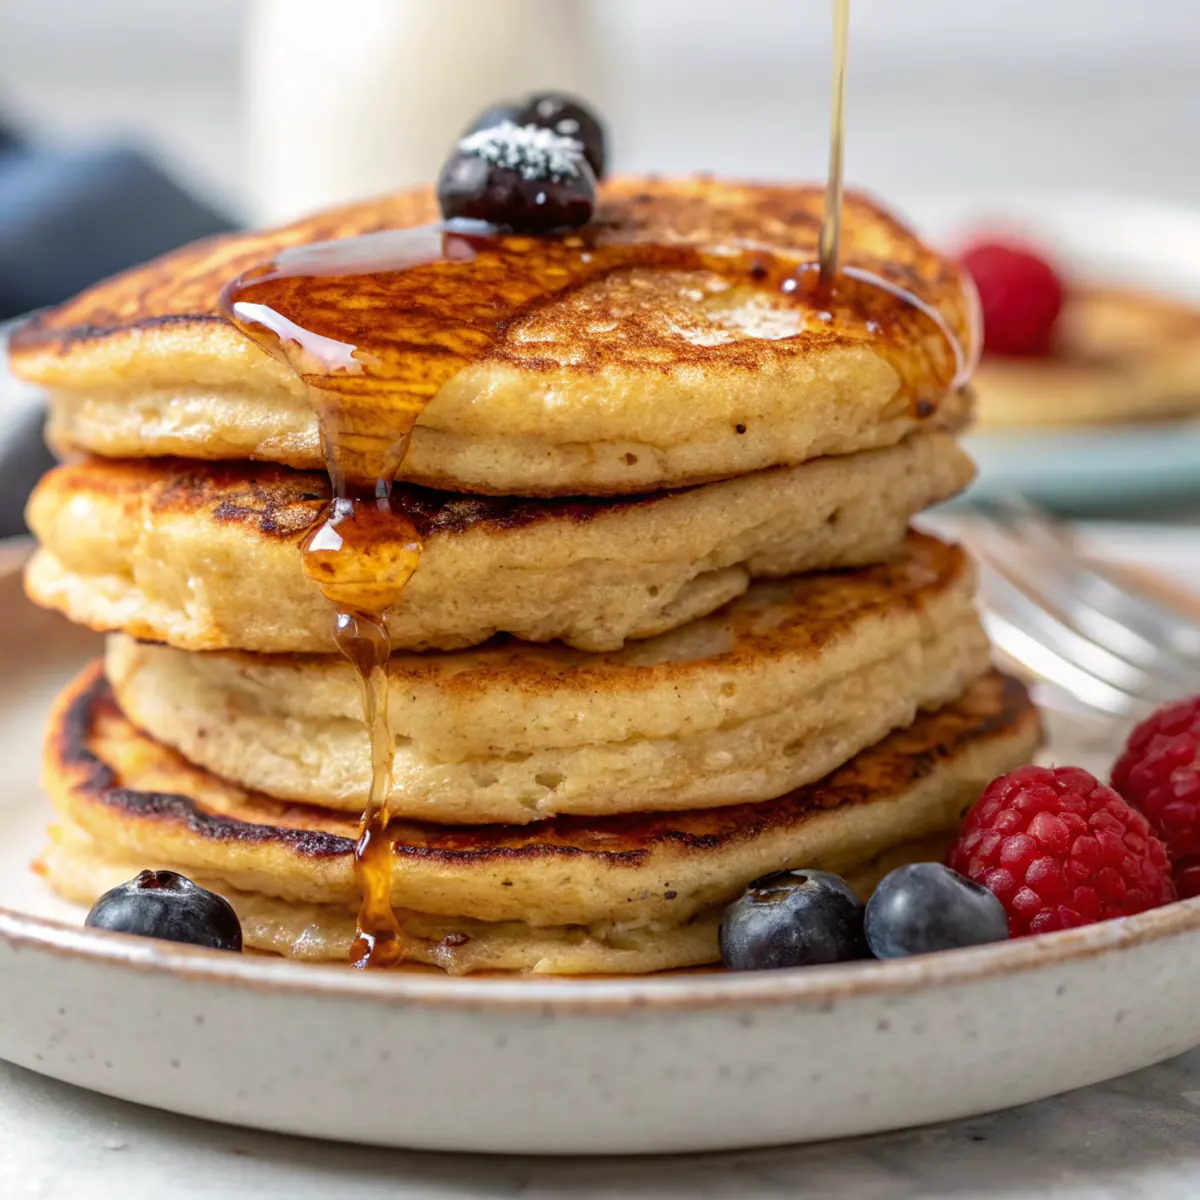
Estimated Macros & Calories
Here’s a quick look at the nutritional breakdown of these pancakes.
(estimated per serving, without optional ingredients)
- Calories: 300
- Protein: 20 g
- Carbohydrates: 45 g
- Fat: 8 g
- Fiber: 5 g
The Most Authentic Fluffy Greek Yogurt Pancakes Recipe
These Fluffy Greek Yogurt Pancakes have become a family favorite, and they turn out so wonderfully each time I make them. With a tender inside and perfectly golden edges, they’re both comforting and satisfying. Plus, the protein boost from the Greek yogurt is a bonus I feel good about.
Ingredient Notes
– Rolled Oats: When pulsed into flour, they create a lovely texture and add fiber, which is great for making the pancakes hearty.
– Greek Yogurt: This ingredient not only makes the pancakes moist but is also a standout source of protein compared to traditional recipes.
– Eggs: Essential for structure, eggs help bind the ingredients together while contributing to the lift during cooking.
– Maple Syrup: Just a touch adds sweetness without overwhelming the natural flavors. It keeps the pancakes balanced.
– Milk: Use it to achieve the desired batter consistency — remember, you want it thicker than usual pancake batter.
Instructions
Step 1: Pulse Oats
If you’re using rolled oats, start by pulsing them in a food processor or blender until they resemble a fine flour. This step is crucial to achieve that soft pancake texture. If you’ve opted for oat flour, feel free to skip this.
Step 2: Whisk Wet Ingredients
In a medium bowl, combine the Greek yogurt with the eggs, maple syrup, vanilla extract, and lemon zest if you’re using it. Whisk these together until the mixture is smooth and uniformly blended.
Step 3: Mix Dry Ingredients
In a separate bowl, stir together the oat flour, baking powder, ground cinnamon, and fine salt. This helps ensure the leavening ingredients are evenly distributed throughout your batter.
Step 4: Combine Mixtures
Fold the dry mixture into your wet ingredients using a spatula. Mix until mostly combined, and then gradually add the milk a tablespoon at a time. Aim for a thick batter that slowly drops from a spoon.
Step 5: Rest the Batter
Allow the batter to rest for a few minutes while you heat your skillet. This short break lets the oats hydrate and aids in achieving that lovely fluffy texture.
Step 6: Prepare the Pan
Melt a little butter in your nonstick skillet over medium-low heat, spreading it lightly with a paper towel to evenly coat the surface. This prevents sticking and gives your pancakes a nice golden edge.
Step 7: Cook First Side
For each pancake, spoon about a quarter of the batter into the skillet, making sure to leave space between each one. Cook until bubbles form on the surface, and the edges look set.
Step 8: Flip and Finish Cooking
Carefully flip the pancakes and cook the second side until golden brown. Transfer to a plate and keep warm while you repeat with the remaining batter, adding more butter to the skillet as needed.
Step 9: Serve and Enjoy
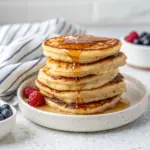
Stack the pancakes on a plate and serve them warm. You might like to add fresh berries and another drizzle of maple syrup for an extra treat.
Tips and Mistakes to Avoid
– **Don’t Skip Resting the Batter:** Allowing the batter to rest is key to fluffiness as it gives the oats time to absorb moisture.
– **Measure Ingredients Accurately:** Using the right proportions is essential for achieving the desired texture; too much liquid can make them runny.
– **Watch the Heat:** Cooking at too high a temperature can lead to burnt pancakes on the outside and undercooked centers. Medium-low is your friend here.
Storage Tips
Store leftover pancakes in an airtight container in the fridge for a few days. You can also freeze them for a month; just make sure to separate each with parchment paper so they don’t stick. When reheating, pop them in the toaster for a crispy outside, or warm them in the microwave for a few seconds for soft pancakes. These can be a great grab-and-go option for busy mornings!
Variations and Substitutions
You can easily swap Greek yogurt for a dairy-free option like unsweetened almond yogurt if you need a non-dairy alternative. Another great idea is to add a scoop of protein powder to boost the protein content even further while keeping the pancakes delicious and fluffy.
Why This Recipe Is The Real Deal
These pancakes stand out because they combine wholesome ingredients that nourish while never sacrificing taste. The use of oats and Greek yogurt not only enhances the protein but also brings in the fiber that helps keep those hungry kids satisfied longer. Personally, I enjoy how easy it is to adapt with simple swaps, making this recipe versatile for any pantry.
The Bottom Line
Next time you’re in a rush, give these Fluffy Greek Yogurt Pancakes a try. I think you’ll appreciate just how satisfying they are — both in flavor and protein! I’d love to hear how they turn out for you, so leave a comment below.
Daisy Hartmann, RDN
Founder of GoProteinEats.com
Making high-protein eating simple, delicious, and sustainable for real life.
Fluffy Greek Yogurt Pancakes
Ingredients
Dry ingredients
- 1 cup rolled oats (or 1 cup oat flour)
- 2 tsp baking powder
- 1/4 tsp ground cinnamon
- 1/8 tsp fine salt
Wet ingredients
- 1 cup plain Greek yogurt (nonfat or low-fat)
- 2 large eggs
- 1 tbsp pure maple syrup
- 1 tsp pure vanilla extract
- 2 tbsp milk (any kind), to thin
- 1 tsp lemon zest (optional, for brightness)
For cooking
- 1 tbsp unsalted butter (for the pan)
Instructions
Preparation Steps
- If using rolled oats, pulse them in a food processor or blender until they form a fine flour-like powder. If you started with oat flour, skip this step.
- In a medium bowl whisk together the Greek yogurt, eggs, maple syrup, vanilla and lemon zest until smooth and uniform.
- Stir the oat flour, baking powder, cinnamon and salt together in a separate bowl to distribute the leavening evenly.
- Fold the dry mixture into the yogurt mixture with a spatula until mostly combined. Add the milk a tablespoon at a time to reach a thick batter that still drops slowly from a spoon — it should be thicker than classic pancake batter.
- Let the batter rest 5 minutes while you heat a large nonstick skillet or griddle over medium-low. The short rest allows the oats to hydrate and helps the pancakes puff.
- Melt a little butter in the hot pan and wipe it around with a paper towel to coat the surface thinly. Spoon about 1/4 cup batter per pancake onto the skillet, leaving room between each.
- Cook on the first side until bubbles form on the surface and the edges look set, about 2–3 minutes. For extra lift, cover the pan loosely for 30–45 seconds during the first side so steam helps the centers set.
- Flip carefully and cook the second side 1–2 minutes more until golden. Transfer to a plate and keep warm while you finish the rest, adding more butter as needed between batches.
- Serve stacked with fresh berries and an extra drizzle of maple syrup if you like.