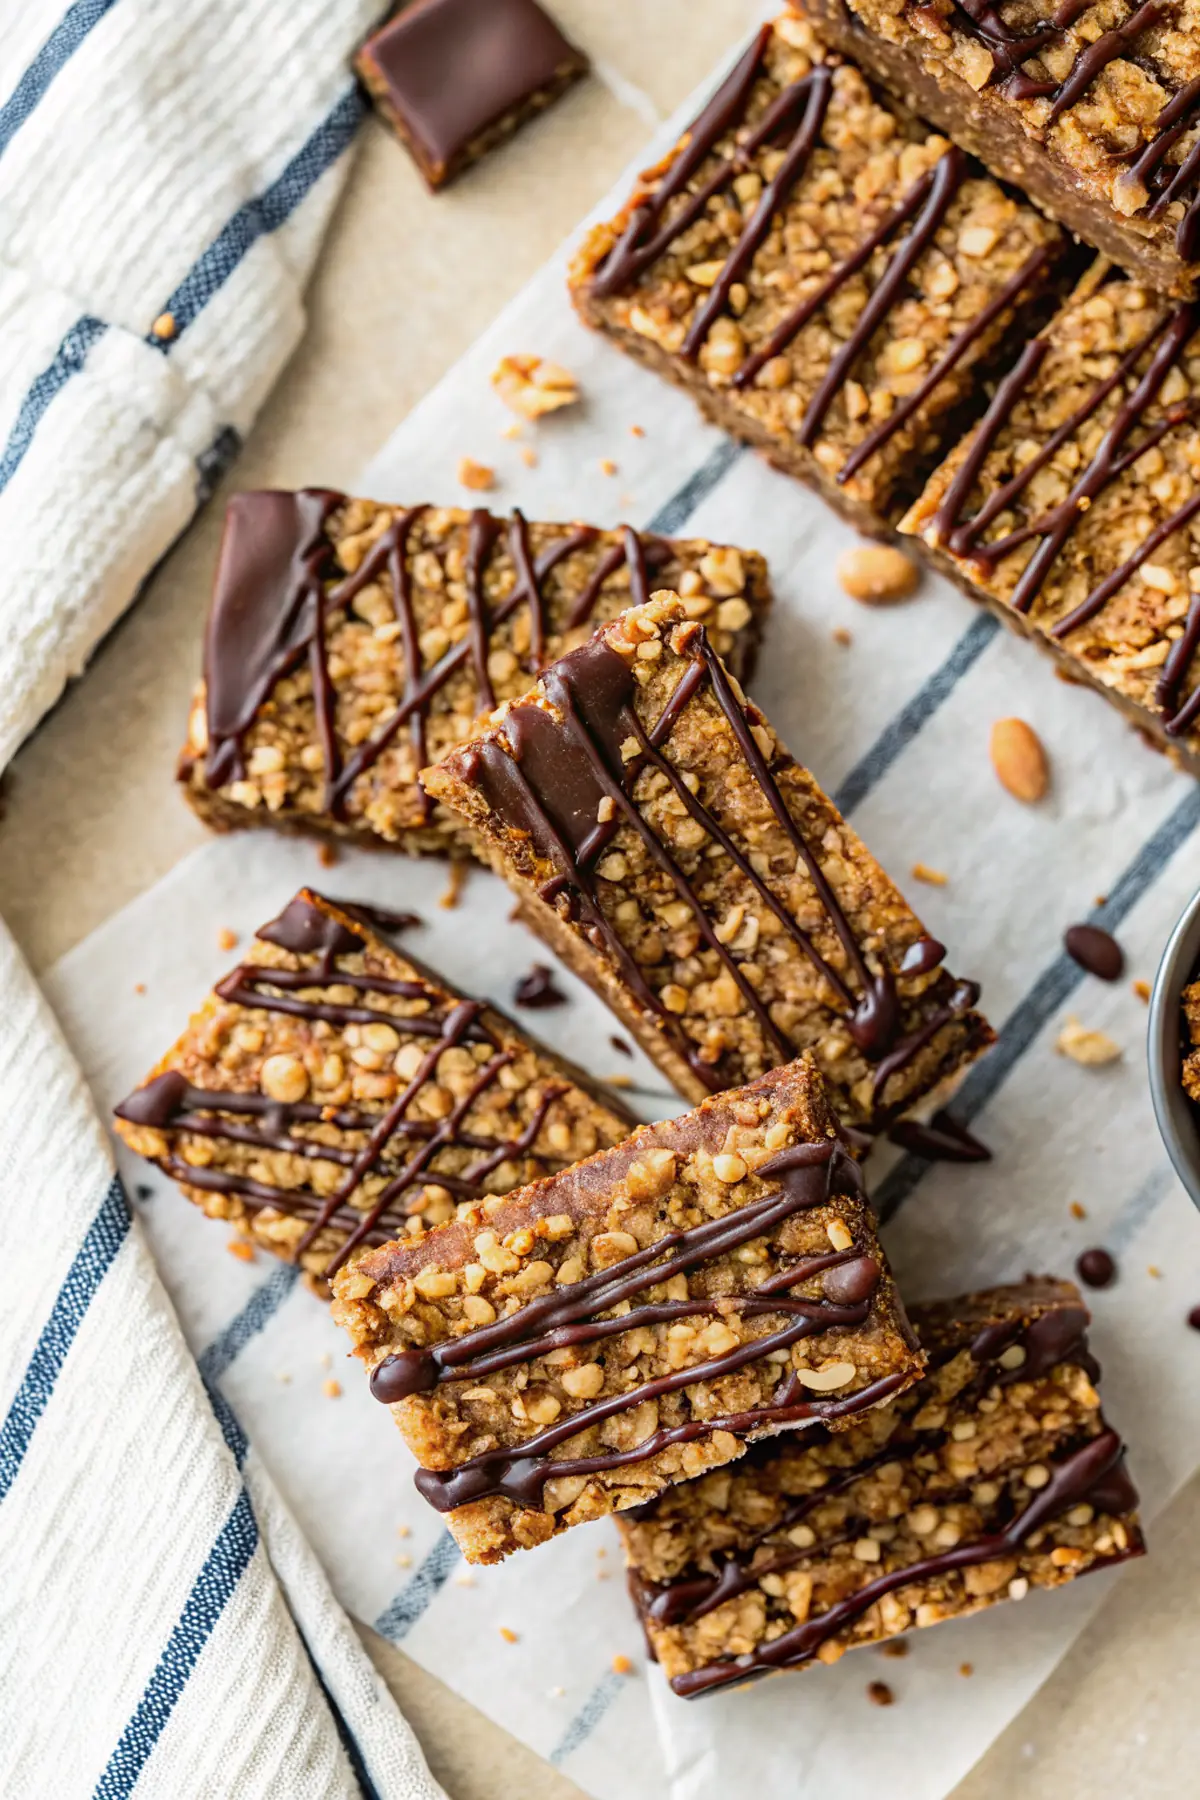
After a busy weekend filled with family activities, I found myself needing a quick snack to keep everyone fueled during the week. That’s when the recipe for these Crunchy No Bake Protein Bars came to mind. They pack in a punch of protein and don’t require any cooking, which is a game-changer on those hectic days when time is tight.
Why You’ll Love This Crunchy No Bake Protein Bars
In my kitchen, these protein bars have become a staple for keeping my family energized without sacrificing flavor. The kids love them, and I appreciate how simple they are to whip up, especially when I need a quick option for post-school snacks or lunches.
This recipe has evolved over time, combining the best ingredients for both taste and nutrition. It’s rewarding to have a go-to snack that everyone agrees on, and it simplifies my meal prep routine wonderfully.
What Makes this Recipe Unique
– **Crispy Texture:** The crispy brown rice cereal adds a satisfying crunch that contrasts beautifully with the creamy peanut butter.
– **No Baking Needed:** This recipe allows for quick assembly and zero oven time, perfect for busy days.
– **High Protein Boost:** The addition of protein powder and peanut butter ensures these bars aid in fueling your active lifestyle.
– **Customization Friendly:** You can interchange the dark chocolate chips for your favorite nut butter or add nuts for an extra crunch.
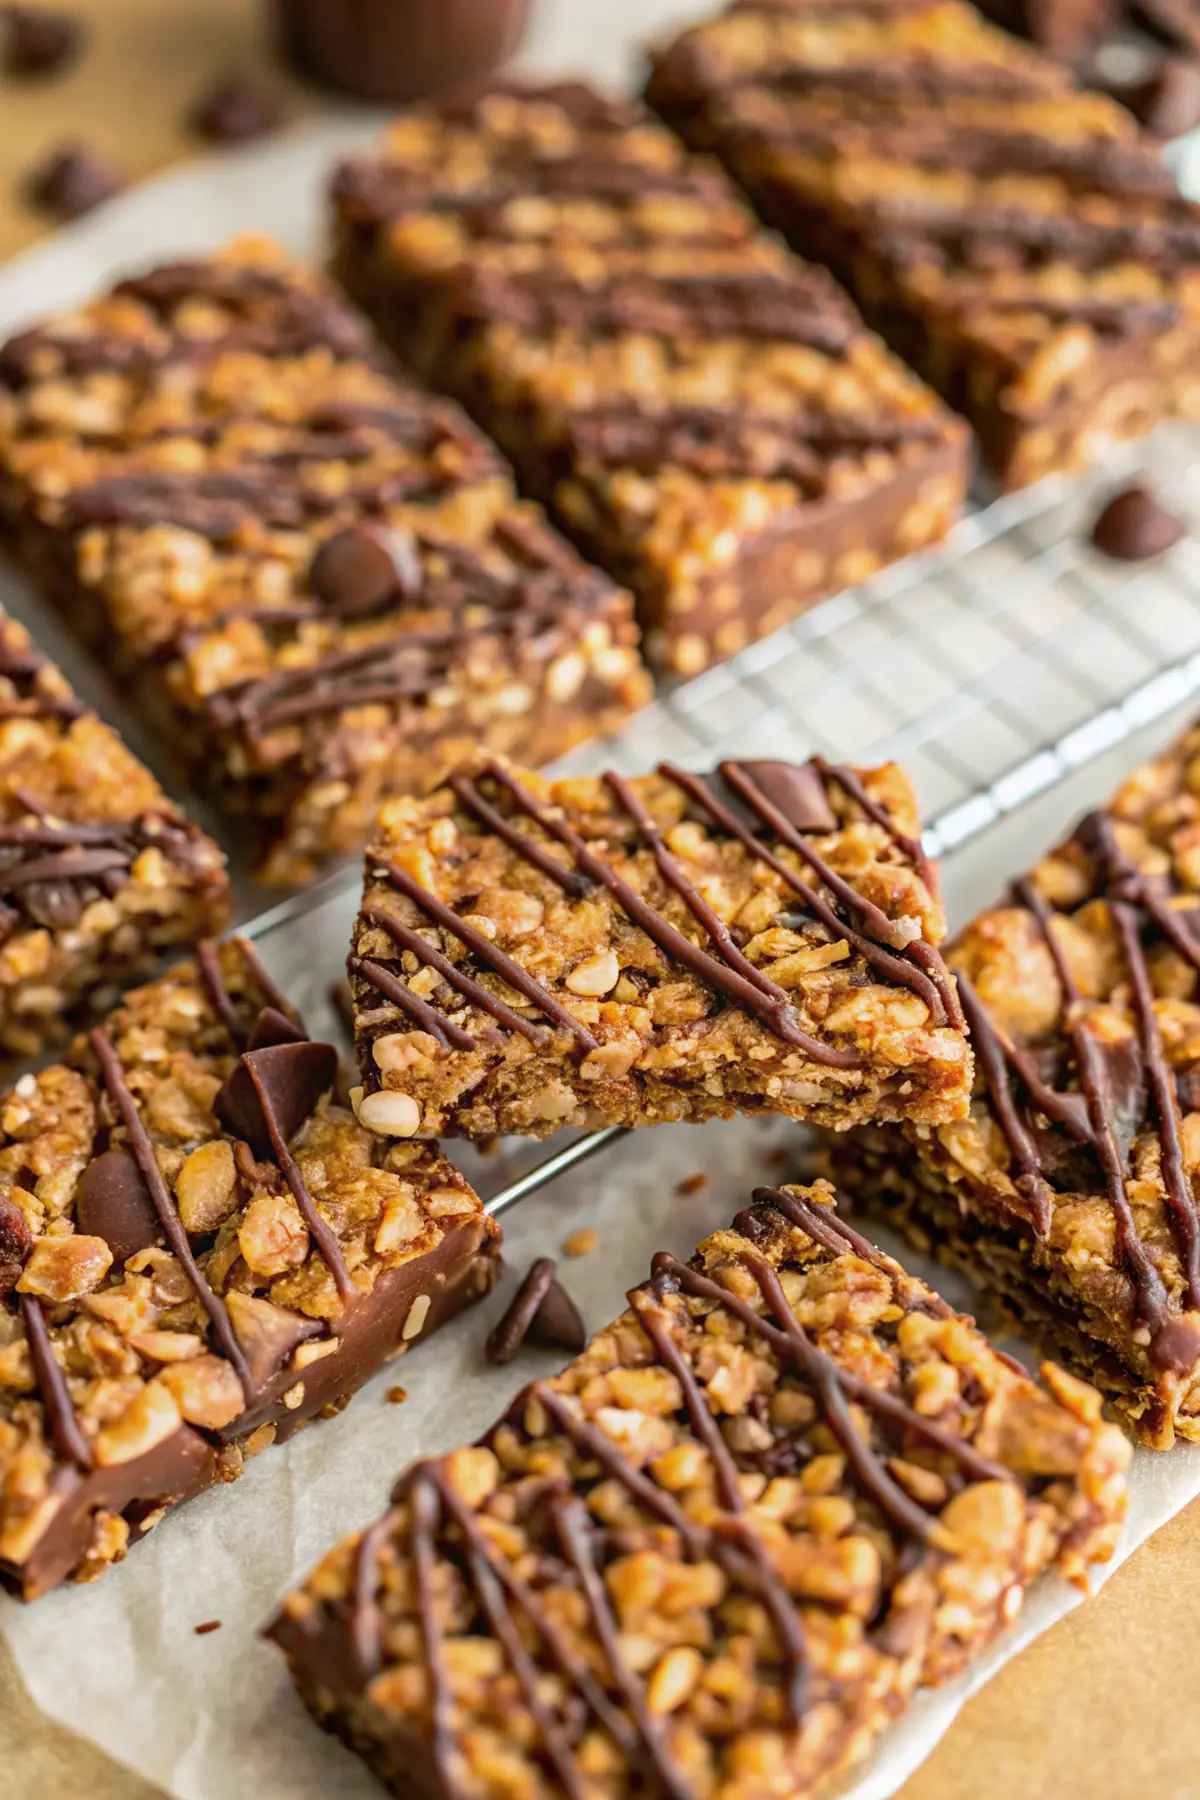
Estimated Macros & Calories
These protein bars provide a balanced snack option to keep you satisfied throughout the day.
(estimated per serving, without optional ingredients)
- Calories: 180
- Protein: 6 g
- Carbohydrates: 27 g
- Fat: 7 g
- Fiber: 2 g
The Most Authentic Crunchy No Bake Protein Bars Recipe
This recipe has become one of my favorites to prepare because of its straightforward approach and rich flavor. You mix a few wholesome ingredients—and voilà—you have delicious, protein-rich bars that your family will love. They are perfect for an after-school snack or a post-workout treat.
Ingredient Notes
– Crispy Brown Rice Cereal: Provides a crunchy base that delivers texture without adding too many calories.
– Old-Fashioned Rolled Oats: A great gluten-free option that contributes fiber and helps bind the bars together.
– Unsweetened Shredded Coconut: Adds a tropical flavor while providing healthy fats and a slight sweetness.
– Vanilla Protein Powder: Elevates the protein content significantly, making these bars more filling.
– Natural Creamy Peanut Butter: A must-have for richness and flavor; I recommend using a good-quality brand for the best results.
Instructions
Step 1: Line the Pan
Prepare an 8×8-inch square pan by lining it with parchment paper, allowing it to hang over the edges for easy removal later. This simple step is essential for ensuring your bars come out neatly.
Step 2: Pulse the Cereal and Oats
In a food processor, pulse the crispy brown rice cereal and rolled oats 4–6 times until the cereal is broken into smaller pieces. You want to maintain some crunch in each bar, so don’t over-process.
Step 3: Combine Dry Ingredients
Transfer the blended mixture to a large bowl and add the shredded coconut, vanilla protein powder, cocoa powder, and fine sea salt. Stir everything together to ensure even distribution of ingredients.
Step 4: Melt the Wet Ingredients
In a small saucepan over low heat, mix together the honey, creamy peanut butter, and a tablespoon of coconut oil. Stir constantly until warmed through and smooth, which just takes a couple of minutes.
Step 5: Mix Everything Together
Pour the warm honey mixture over the dry ingredients in the bowl. Use a spatula first, then your hands to mix until everything’s well coated and sticks together when pressed.
Step 6: Transfer to the Pan
Scoop the mixture into the parchment-lined pan and place another piece of parchment on top. Press down firmly using a measuring cup or flat surface to create an even layer.
Step 7: Chill
Place the pan in the refrigerator for at least 45 minutes, or you can speed up the process by using the freezer for about 30 minutes until the bars are firm.
Step 8: Melt the Chocolate
Melt the dark chocolate chips along with a teaspoon of coconut oil in short bursts in the microwave or using a double boiler until fully smooth.
Step 9: Cut into Bars
Once chilled, lift the mixture out of the pan using the parchment overhang. Optionally trim the edges for a cleaner look and cut into 12 even bars.
Step 10: Drizzle with Chocolate
Place the bars on a sheet of parchment and drizzle or spoon the melted chocolate over each, spreading it for even coverage. A sprinkle of flaky sea salt can add a finishing touch.
Step 11: Set and Store
Return the bars to the refrigerator for another 15–20 minutes until the chocolate has hardened. Store the bars in an airtight container in the refrigerator for up to a week, or freeze for longer storage.
Tips and Mistakes to Avoid
– Make sure to use a silicone spatula to mix; it helps prevent sticking to your hands.
– Avoid over-processing your cereal and oats—keeping some texture enhances the final product.
– Don’t skip chilling the bars, as this step helps them firm up before cutting.
Storage Tips
Store these bars in the fridge in an airtight container for about a week to maintain freshness. You can also freeze them for a longer option; just wrap them individually for easy grabbing. When you’re ready to enjoy, let them sit at room temperature for a few minutes to soften slightly.
Variations and Substitutions
Feel free to swap the peanut butter for almond or sun butter for a nut-free version; just check for allergens. You can also use protein powder that fits your taste preference. Adding chopped nuts or dried fruit can enhance both the texture and flavor, making them family favorites in no time.
Why This Recipe Is The Real Deal
The combination of crispy textures and creamy richness creates a satisfying snack that fills you up, thanks to the protein-packed ingredients. I love that it’s customizable, making it easy to switch things up while still meeting our family’s needs.
Whether you’re looking for a post-workout treat or just a midday snack, these protein bars deliver great taste without the fuss. They’re a refreshing way to incorporate more protein into your diet without it feeling boring.
The Bottom Line
These Crunchy No Bake Protein Bars are a fantastic snack that everyone in the family can enjoy—without the guilt or hassle. Give them a try, and let me know how they turn out for you!
Daisy Hartmann, RDN
Founder of GoProteinEats.com
Making high-protein eating simple, delicious, and sustainable for real life.
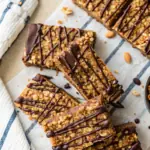
Crunchy No Bake Protein Bars
Ingredients
Dry ingredients
- 2 cups crispy brown rice cereal
- 1/2 cup old-fashioned rolled oats (gluten-free if needed)
- 1/4 cup unsweetened shredded coconut
- 3 Tablespoons vanilla protein powder
- 1 Tablespoon unsweetened cocoa powder
- 1/4 teaspoon fine sea salt
Wet ingredients
- 1/2 cup honey
- 1 1/2 Tablespoons natural creamy peanut butter
- 1 Tablespoon coconut oil
- 1 teaspoon pure vanilla extract
Chocolate topping
- 1/2 cup dark chocolate chips (use dairy-free if desired)
- 1 teaspoon coconut oil (for melting chocolate)
Instructions
Preparation Steps
- Line an 8x8-inch square pan with parchment paper, leaving an overhang on two sides for easy removal. Set aside.
- Place the crispy rice cereal and rolled oats into a food processor and pulse 4–6 short times until the cereal is broken into smaller pieces but not powder—you still want some crunch. Transfer to a large mixing bowl.
- Add the shredded coconut, vanilla protein powder, cocoa powder and sea salt to the bowl with the cereal and stir to combine evenly.
- In a small saucepan set over low heat, combine the honey, peanut butter and 1 tablespoon coconut oil. Stir frequently until the mixture is smooth and just warmed through, about 1–2 minutes. Remove from heat and stir in the vanilla extract.
- Pour the warm honey mixture over the dry ingredients. Use a silicone spatula and then your hands (or a flat spatula) to fold and press until every piece is coated and the mixture holds together when squeezed.
- Transfer the mixture to the prepared pan. Cover with another piece of parchment and press very firmly—use the bottom of a measuring cup or a flat-bottomed glass to compact the mixture into an even, tight layer. Remove top parchment.
- Chill the pan in the refrigerator for at least 45 minutes (or 30 minutes in the freezer) until the bars are set and firm to the touch.
- While the base chills, melt the chocolate chips with 1 teaspoon coconut oil. Use short 20–30 second bursts in the microwave, stirring between bursts, or gently melt in a double boiler until smooth.
- Lift the chilled block from the pan using the parchment overhang and place on a cutting board. Trim edges if desired and cut into 12 even bars.
- Place the cut bars on a sheet of parchment. Spoon or drizzle the melted chocolate over the tops of each bar and gently spread with the back of a spoon for an even coating. Optionally sprinkle a tiny pinch of flaky sea salt over the warm chocolate.
- Return the chocolate-topped bars to the refrigerator for 15–20 minutes, or until the chocolate is set. Store chilled in an airtight container for up to 1 week, or freeze for longer storage.